
Sewed a DIY backpack out of ultralight Dyneema Composite Fabric
Posted by markhwebster on August 21st, 2026 • 0 Comments
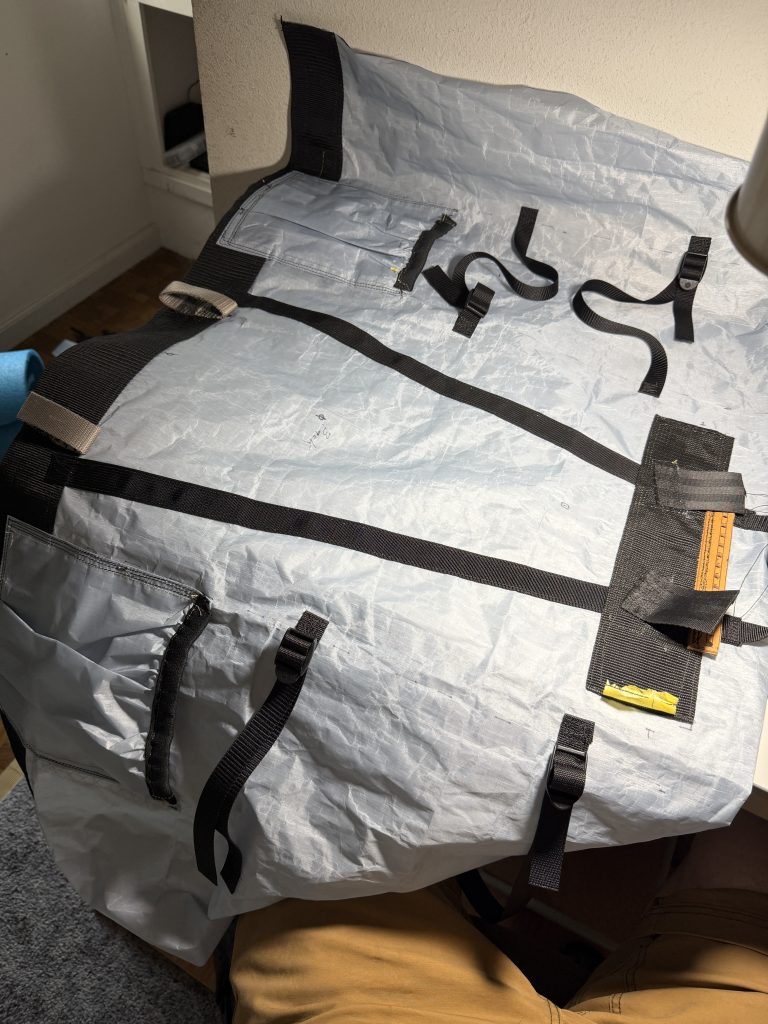
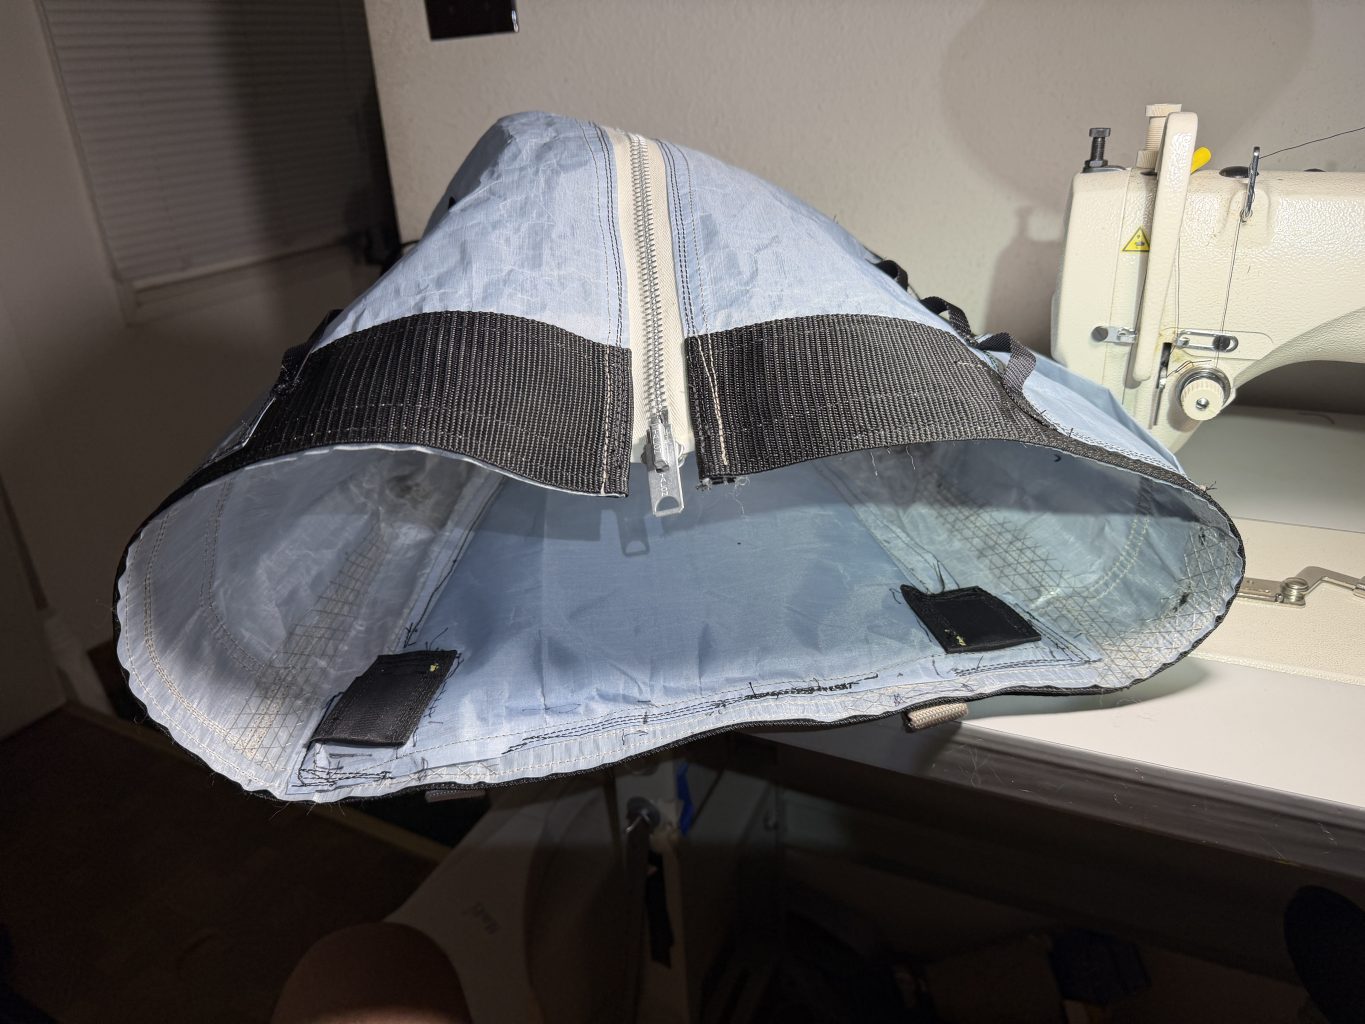
This fabric used to be called Cuban Fiber. I started with a 49 x 25 inch rectangle. I added the shoulder and waist belt attachment points, plus side pockets and frame stay mounts. Everywhere there would be heavy loads or wear points I sewed up to 3 inch webbing. For example, I have a 49 inch piece of 3″ running all the way around the bottom. My old pack had haul bag vinyl doing that but 9″ up, and across the bottom. The 49 inch side turns into a garbage can with a 25 inch zipper. This makes construction and repairs possible down the road.
On that old pack I was concerned about durability and had the youth to carry it. I’ve previously made two full size copies of my 1977 Lowe Expedition pack. The first one was a monster pack for backpacking with 16 x 20″ oil painting canvases in 2016. A few years later I made my current rock pack. It is much smaller but still a large heavy pack with a lot of haul bag vinyl. Both BD and Metolius make packs out of varying weights of vinyl.
By starting with a big rectangle that closes into a tube, I turn 4 seams into just one where the two sides join at a zipper. The zipper allows access for gear, but mostly for getting it back into my machine when repairs are needed.
I have a smaller Hyperlight pack from which I took some ideas and even made some improvements. Their pack attaches the shoulder straps directly to the top of the pack where the stays end. This is starting to delaminate on my expensive Hyperlight so I attempted to design more strength.
Another idea I got from Hyperlight is to put the aluminum stays on the other side of a sheet of foam so they don’t press on my ribs. This also pads the entire back from pokey climbing hardware.
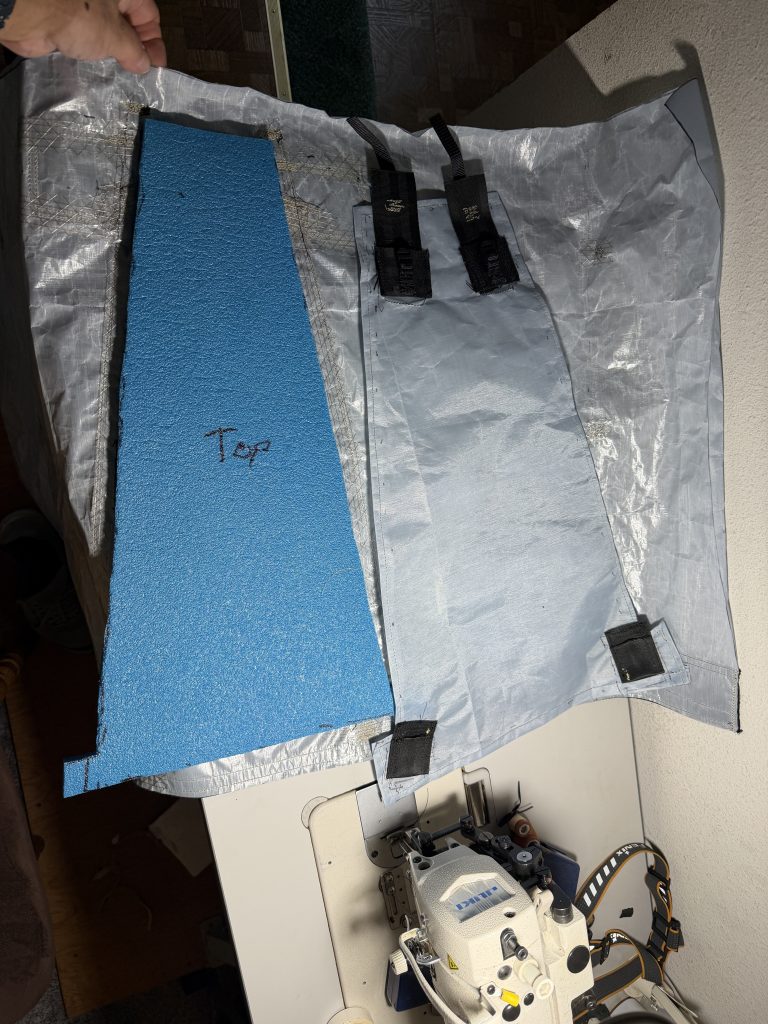
Shown below is the padding and aluminum stay mounts sewn in place on the inside of the pack. On left are the attachment points for the shoulder straps. I used 2 inch seat belt webbing so I could easily rip out the shoulder straps if I didn’t like them or they broke. I added load leveler straps later.
The prepunched leather is for the removable – replaceable brain. It is meant to be a small multi pitch summit pack for carrying phones, windshirts or walk off shoes. The brain top straps connect both to the bottom of the pack to hold a rope or canvases and to the other end of the brain itself to be a stand alone summit pack.
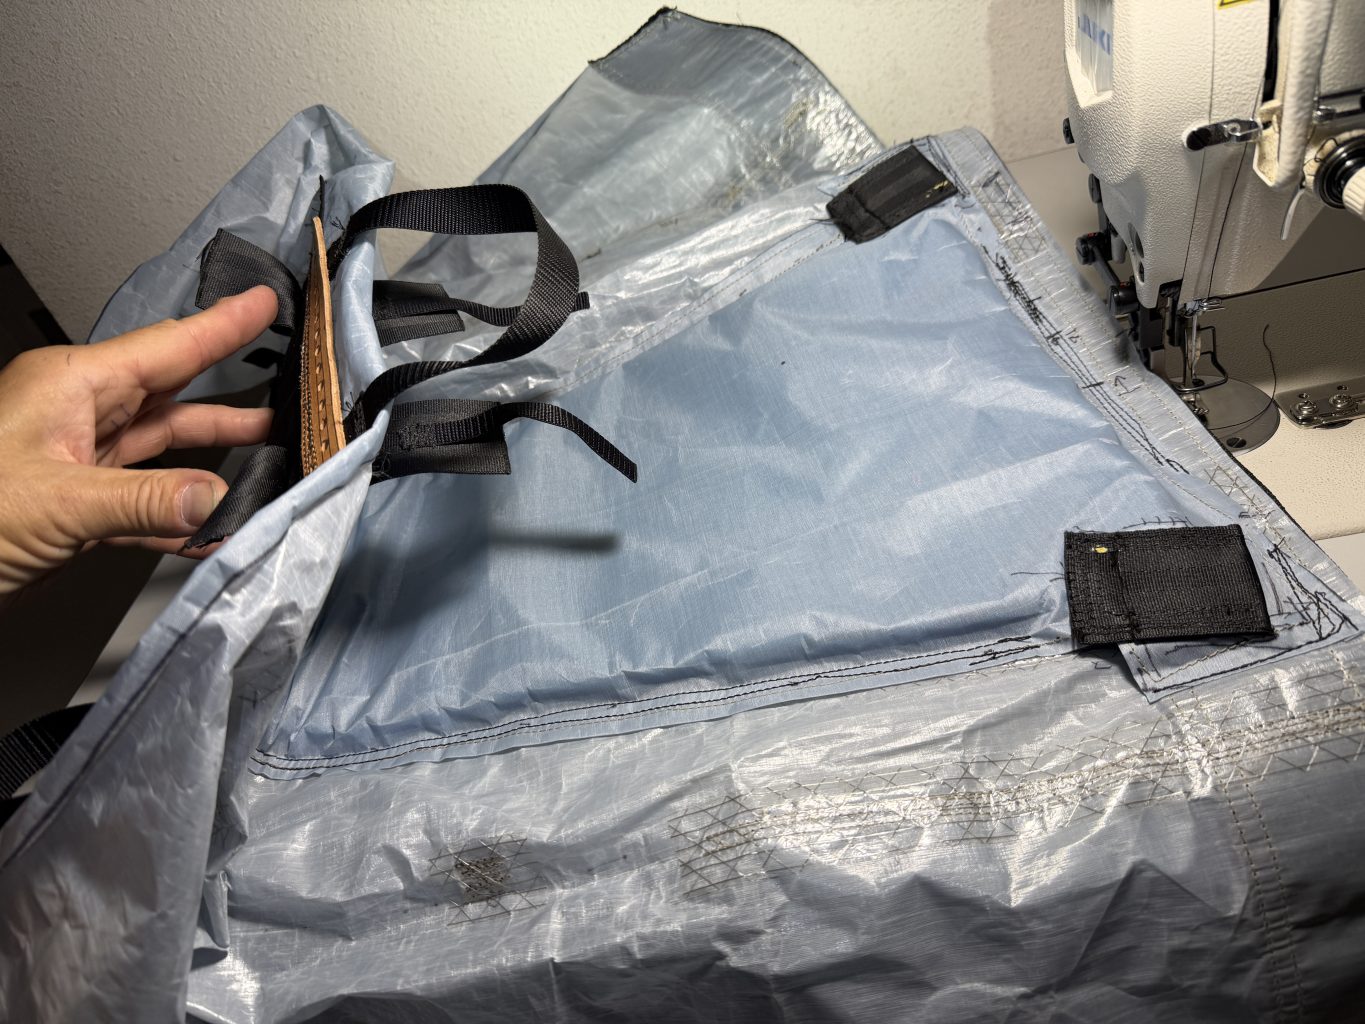
I’ve always struggled to sew bottoms on round columns but this time I cut a piece of stiff cardboard 8 by 16 and tried to stuff it into the tube like a cork. When it didn’t fit, I carefully trimmed one half inch off at a time, fitting it each time. When it finally fit snuggly, I added a one inch seam to the cardboard and had my bottom pattern. I used some bulletproof synthetic canvas doubled up with heavy cordura.
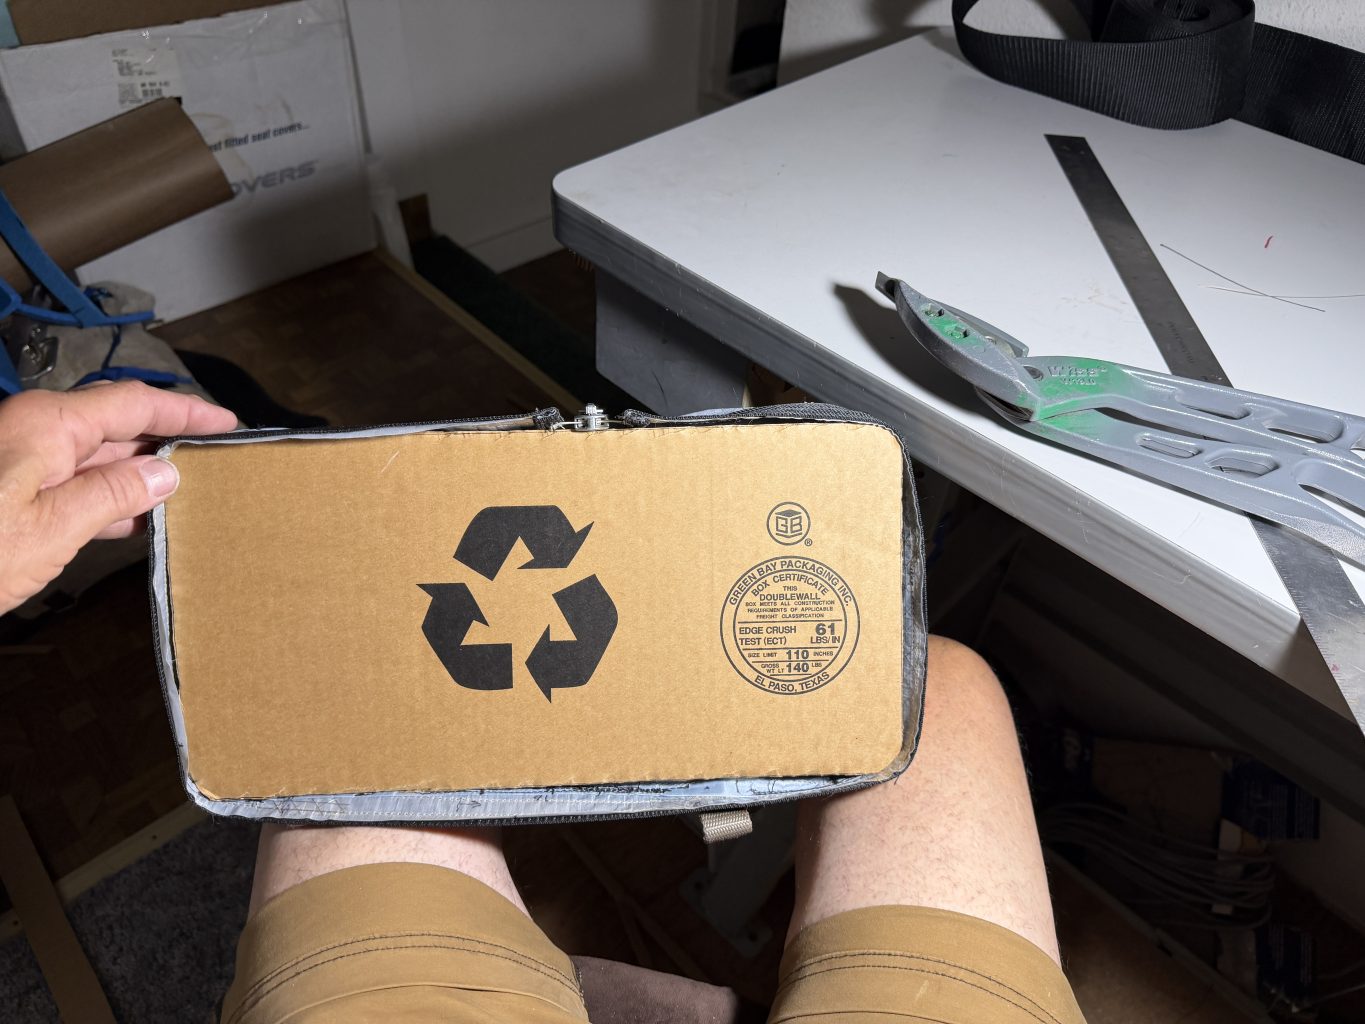
When sewing the bottom on I made wild guesses as to where the seam should be. I start at the back and front middle and sew outward in both directions. This allows me to adjust the curvature of the seam joint and avoid bunching. You basically sew deeper or shallower into the bottom circle to get a perfect fit like the cardboard pattern. Once that was done I sewed in binding tape. This is exactly how the BD and Metolius haul bags are made. The bottom seam is hem out.
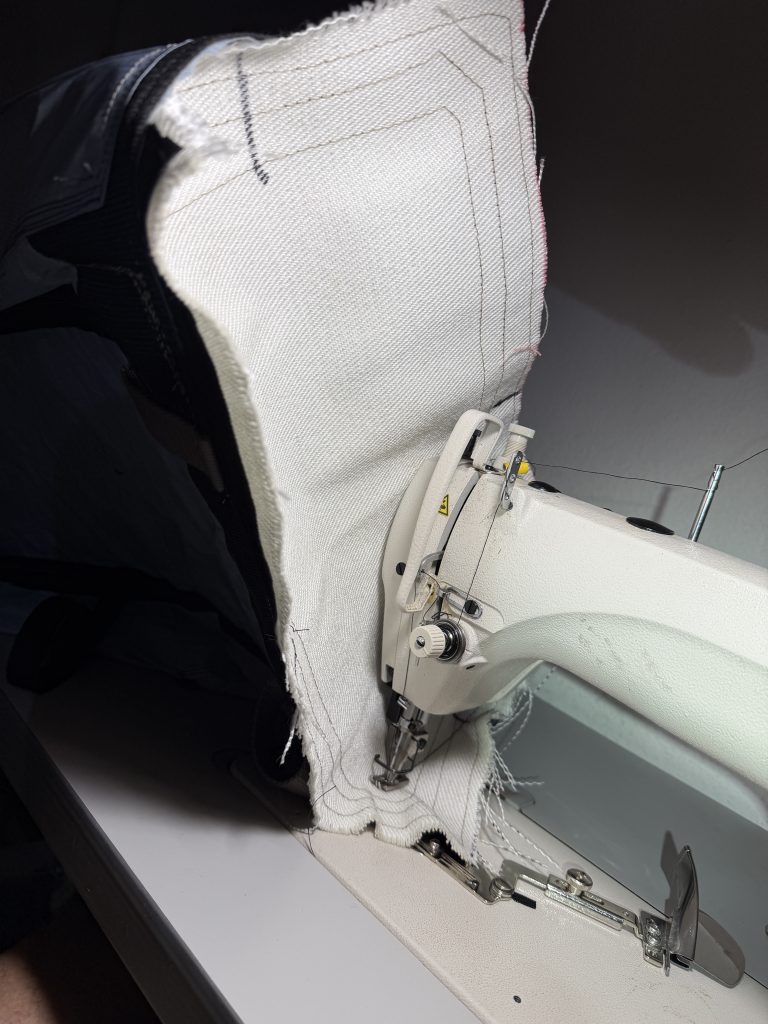
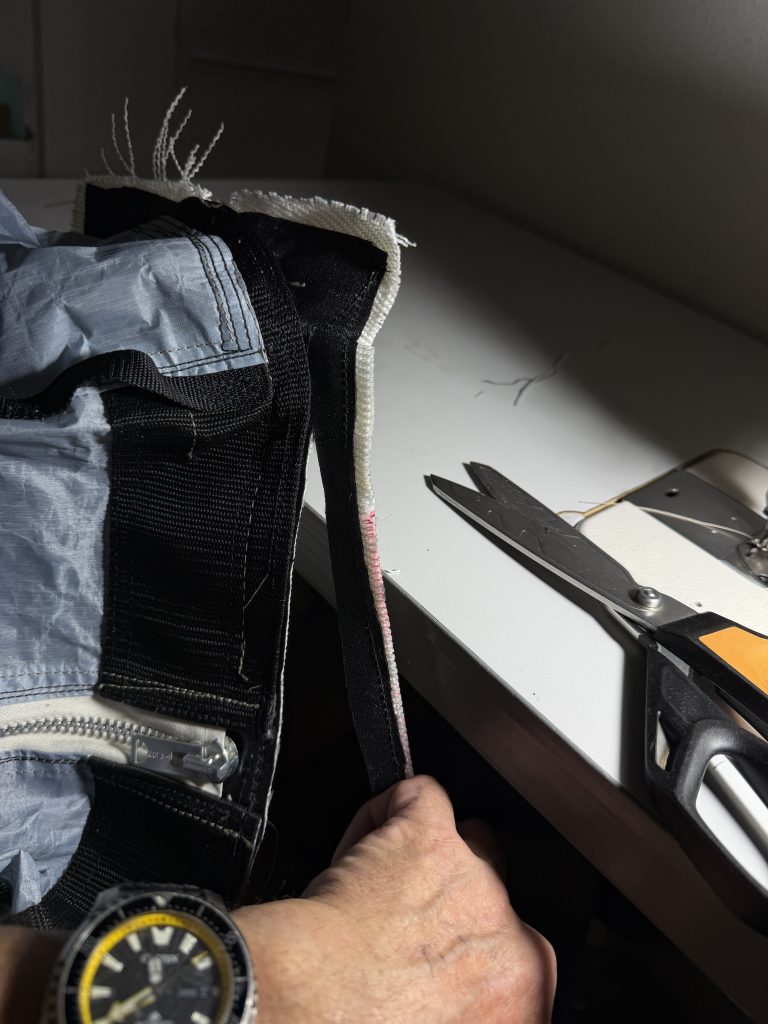
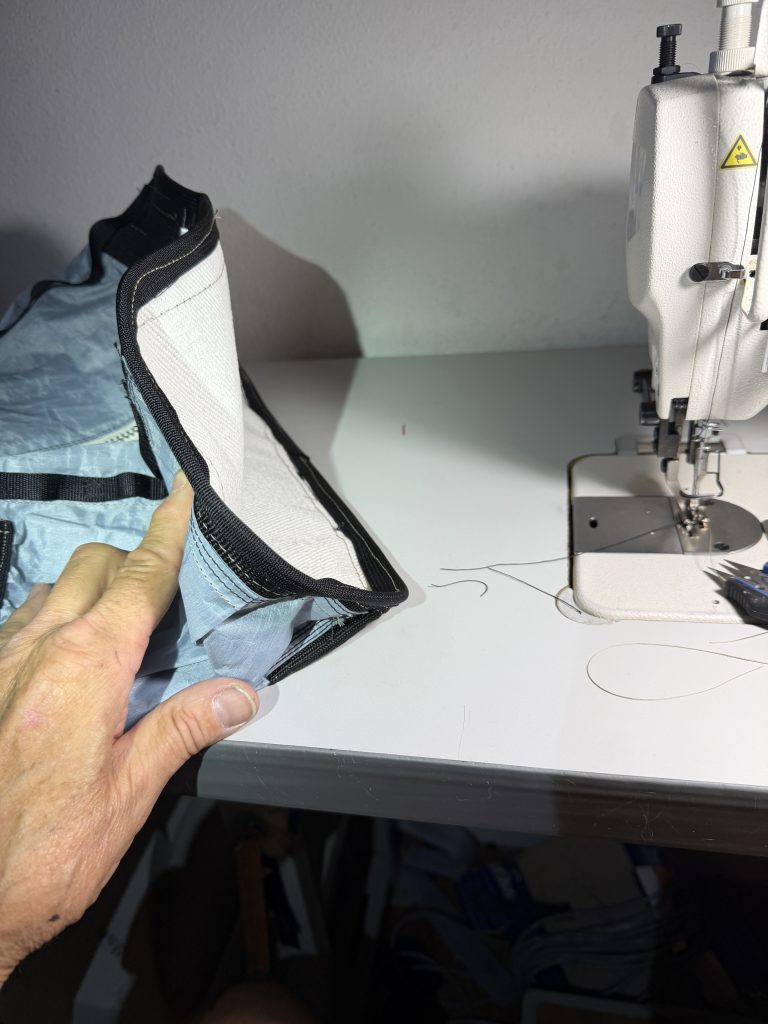
Pack weighs 3.4 pounds for 58 liters, or 64 with pockets. It could be lighter but I didn’t want to sacrifice durability. That said, it is half the weight of my current non-cuban pack and has better design.
I ran out of the seam tape quickly, so the brain is made without tape. Before sewing brain seams I folded the fabric half an inch on all edges so each seam is 4 layers double stitched. At this point I was tired of treating the DCF with kid gloves. If it blows out, the brain replaces easily and I’ll make it bigger.
I tried to make modern curved shoulder straps but my edge binder attachment doesn’t like curves. The straps are not super comfortable. I may remake them curved with 3D mesh fabric and softer ensolite.
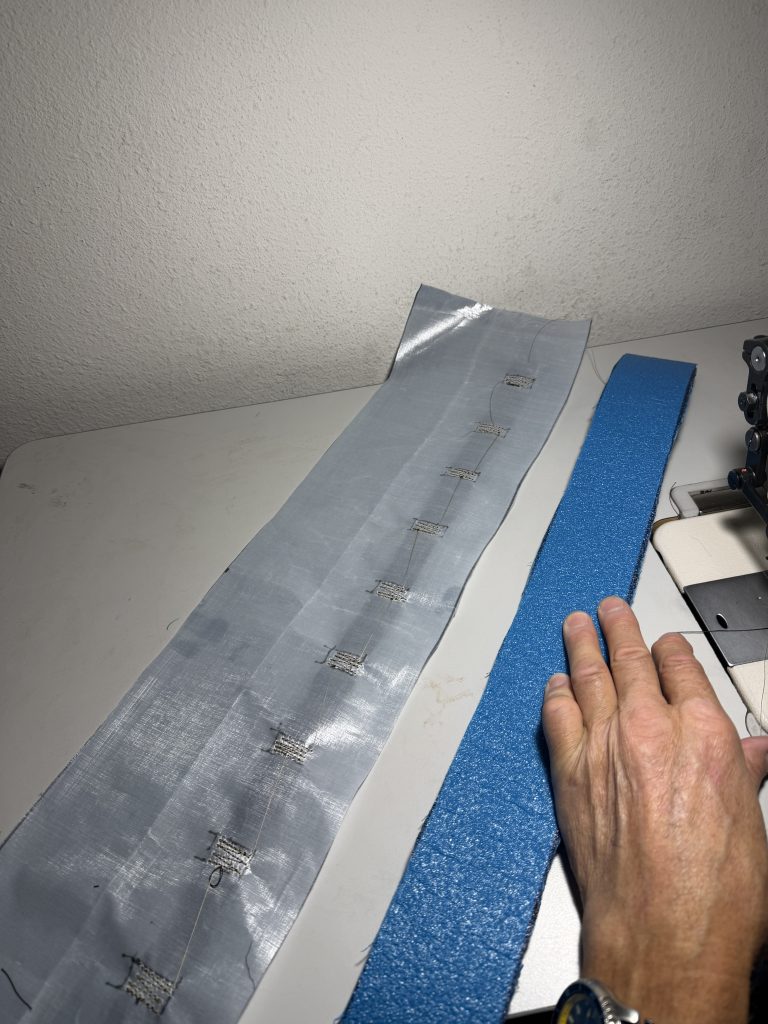
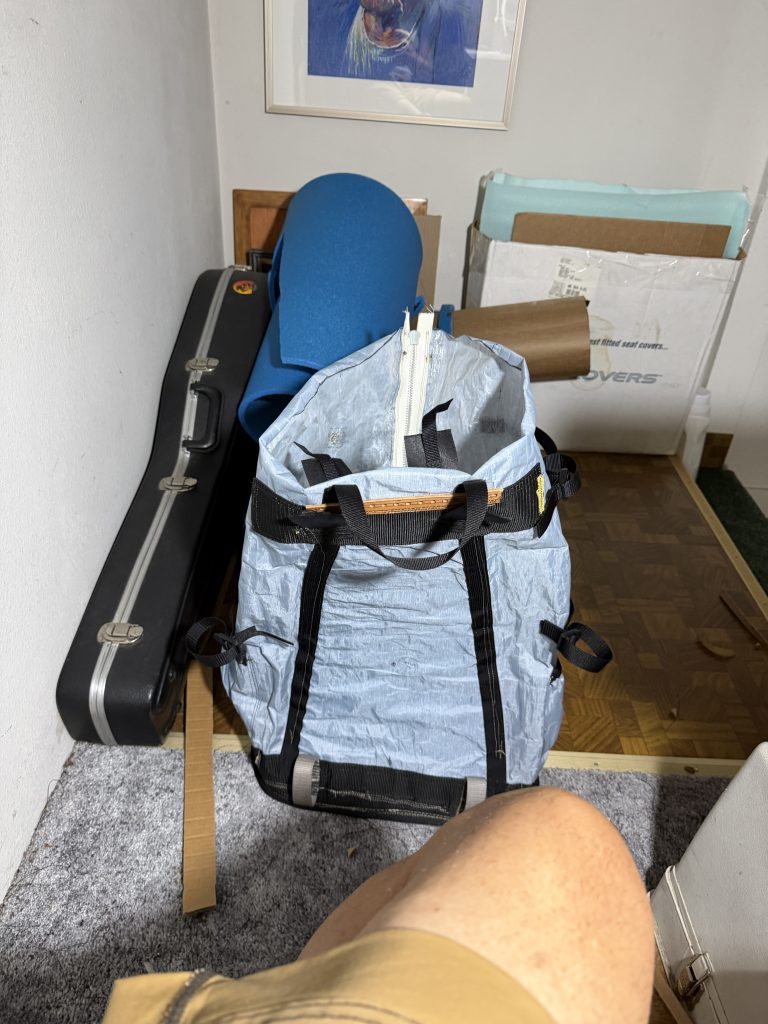
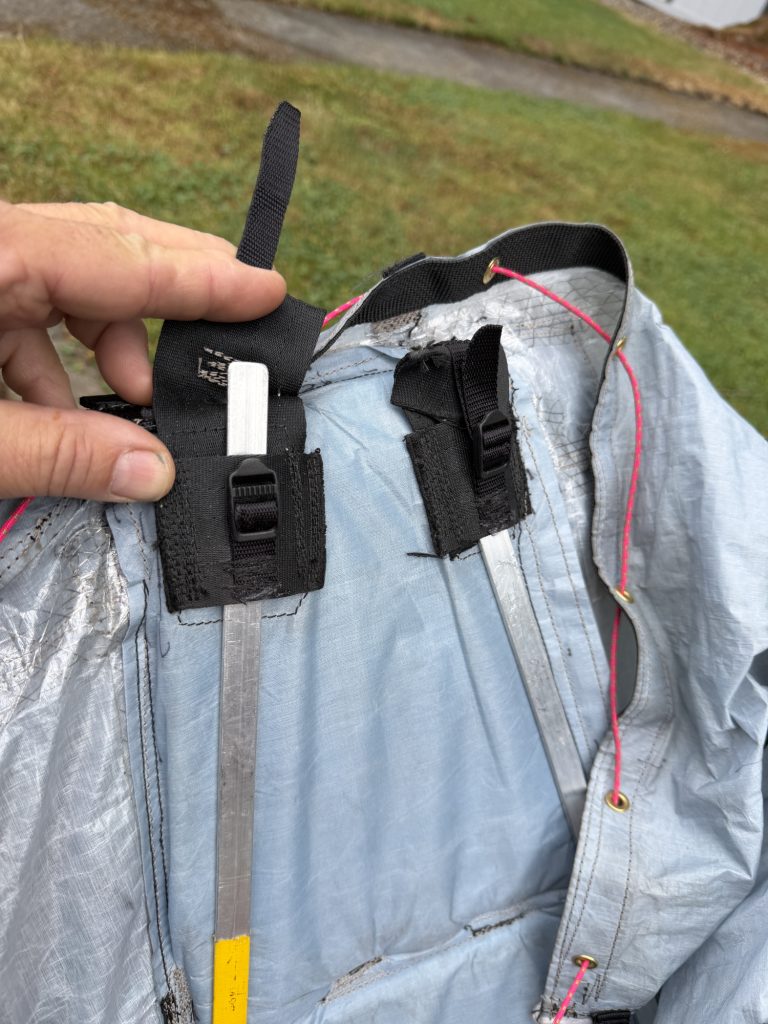
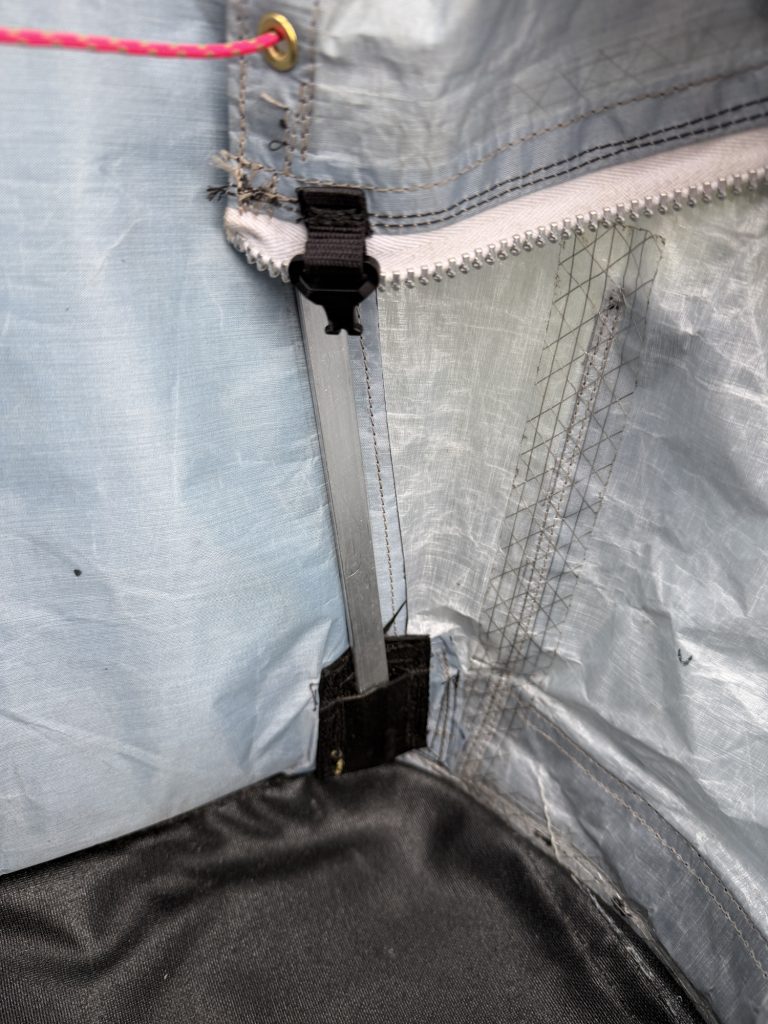
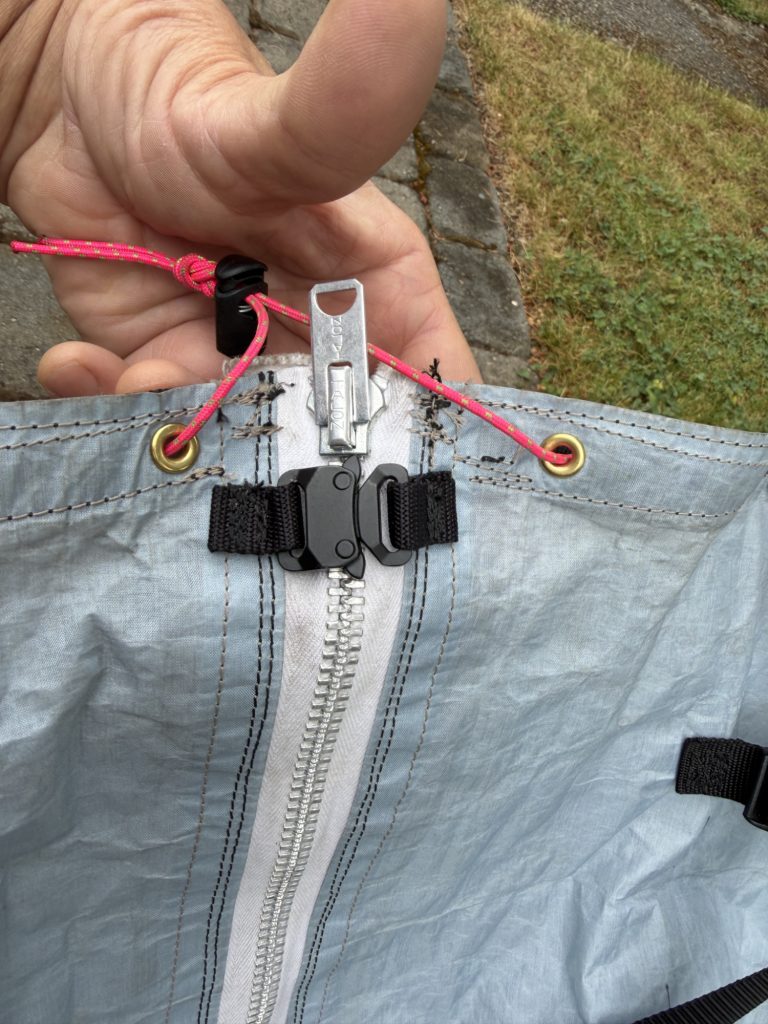
Note in photo below how my commercially made Hyperlite pack shoulder straps are sewn directly to the top of the pack with no reinforcement. There are signs of future problems, but they saved a lot of weight as compared to the Lowe suspension featuring load levelers.
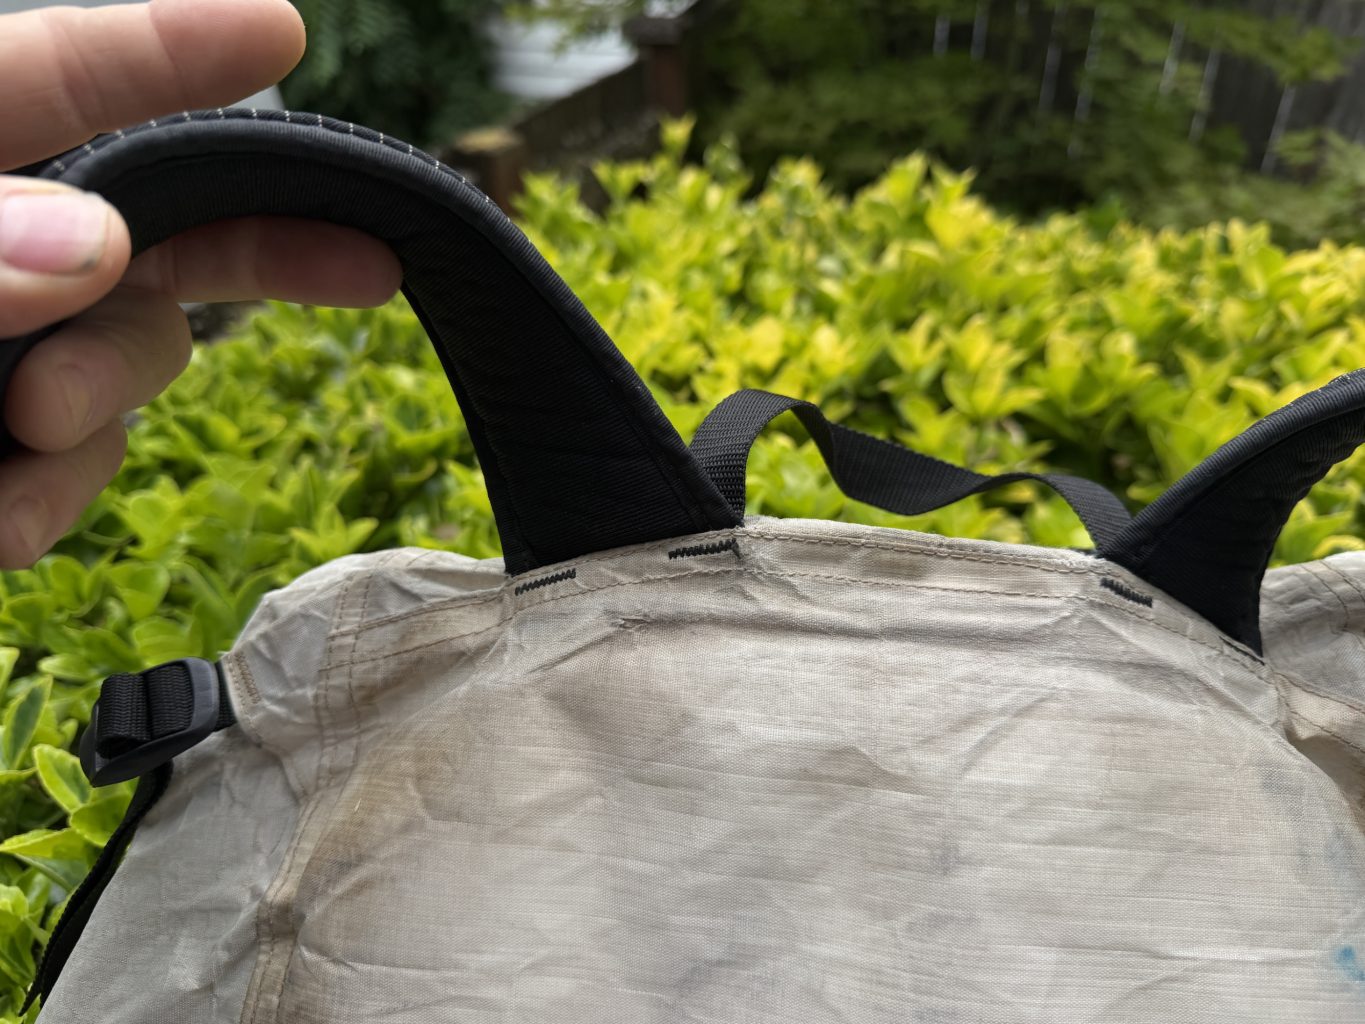
I sewed the first shoulder straps on Hyperlight style. They felt terrible. I realized I needed to rethink the suspension system and reverted back to the tried and true Lowe Expedition suspension. This meant I had to remake the shoulder straps long enough to start below shoulder blades and anchor to middle of pack.
Fortunately I had the 25″ zipper to allow access back into my machine! I added some seat belt webbing across the two, one inch stay straps, and ran a strap down to the waist belt. I was also able to sew directly through the 20 mm padded back.
My Juki DU-1181N is a beast. If I had to buy a new machine from scratch, I’d get the triple feed (unison feed: walking foot plus needle feed) Juki 1541S. In reality you need a home machine for thin fabrics and an industrial for thicker work. Mine is a compromise machine. I have a 1960 all steel home machine but rarely use it because my Juki is so good at everything but two layers of full grain leather..
Shown below is the new suspension with load leveler straps. I used what were intended as shoulder strap mounts for the load levelers. I moved the shoulder strap mounts to middle of back where I added 2 inch webbing for reinforcement.
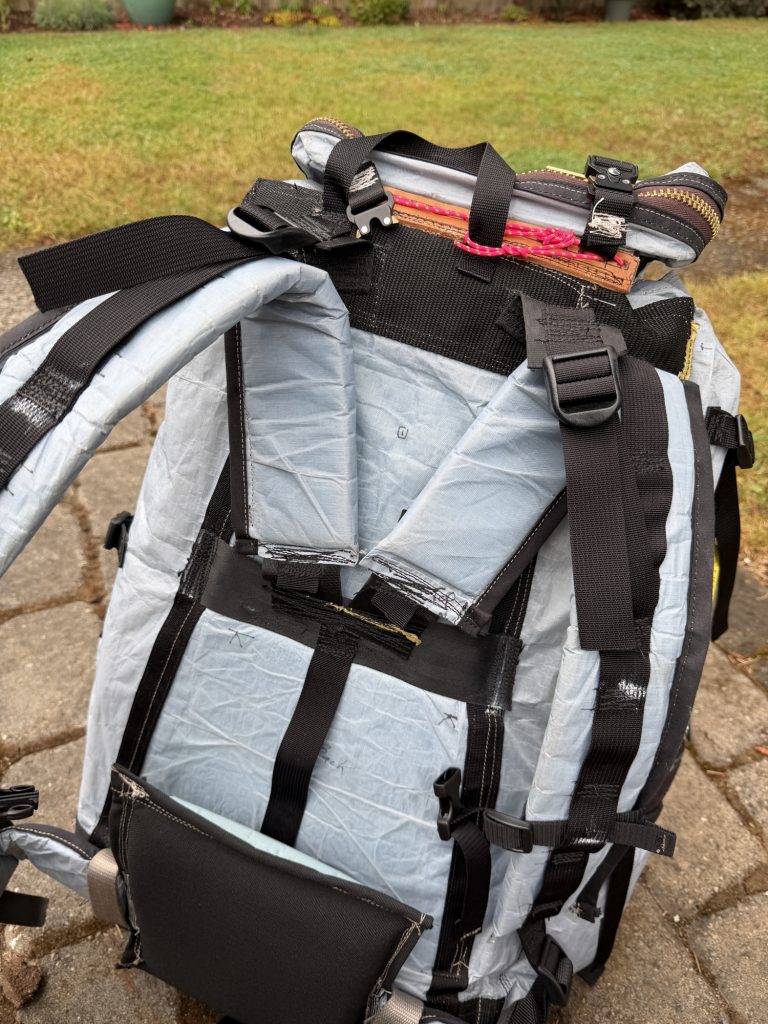
Extra buckle and strap going over brain is the shoulder strap for when brain is detached. Love these cheap little buckles. I’ve got a year of use out of them on my old pack. Being aluminum they are as light as plastic but crush proof.
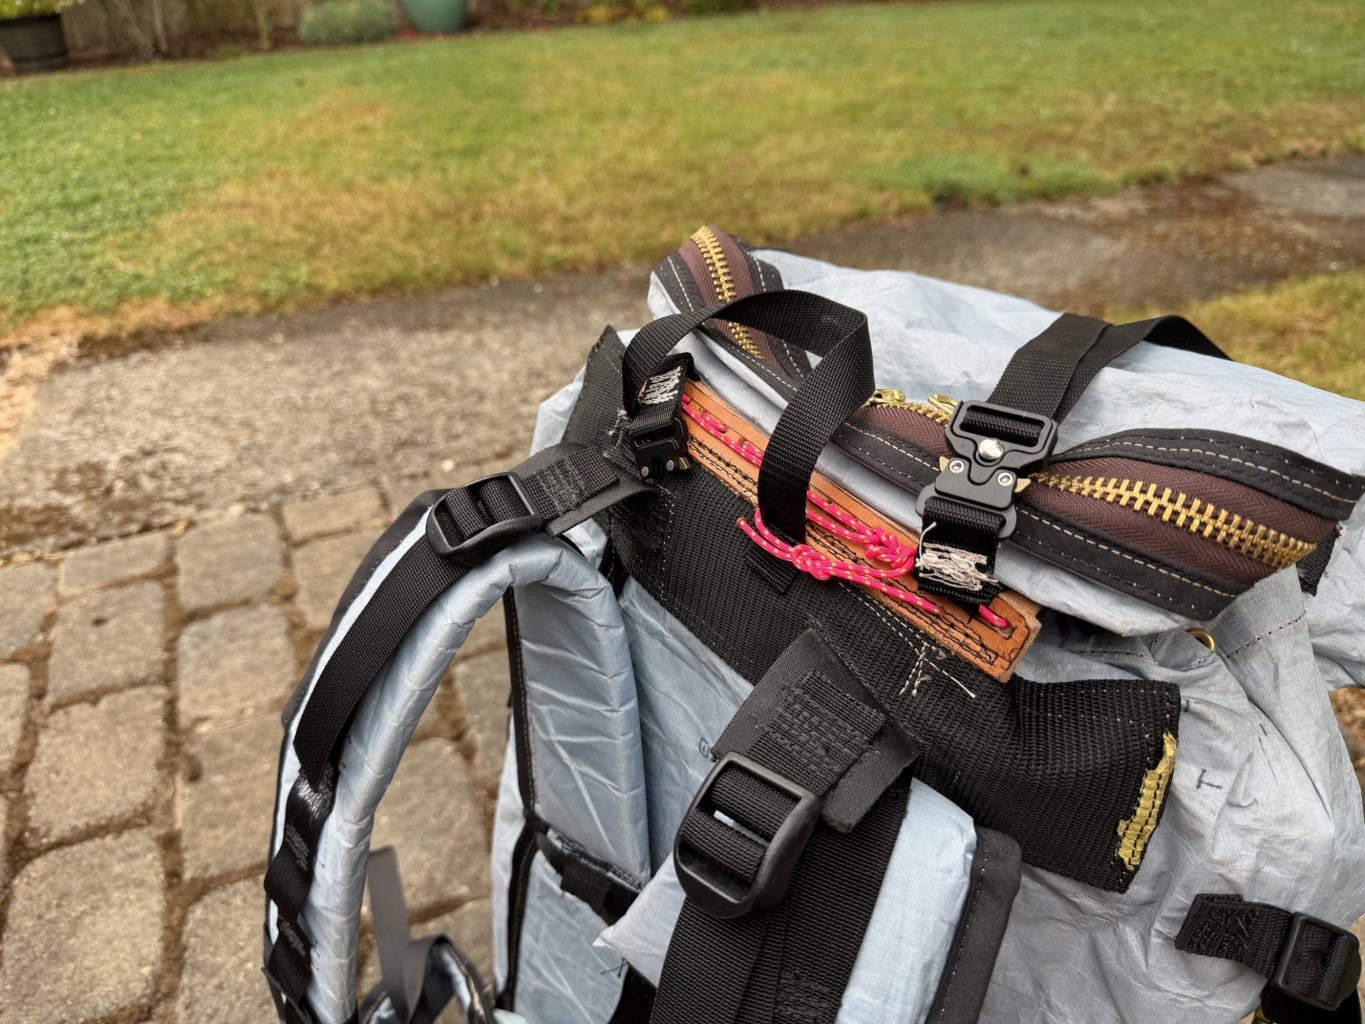
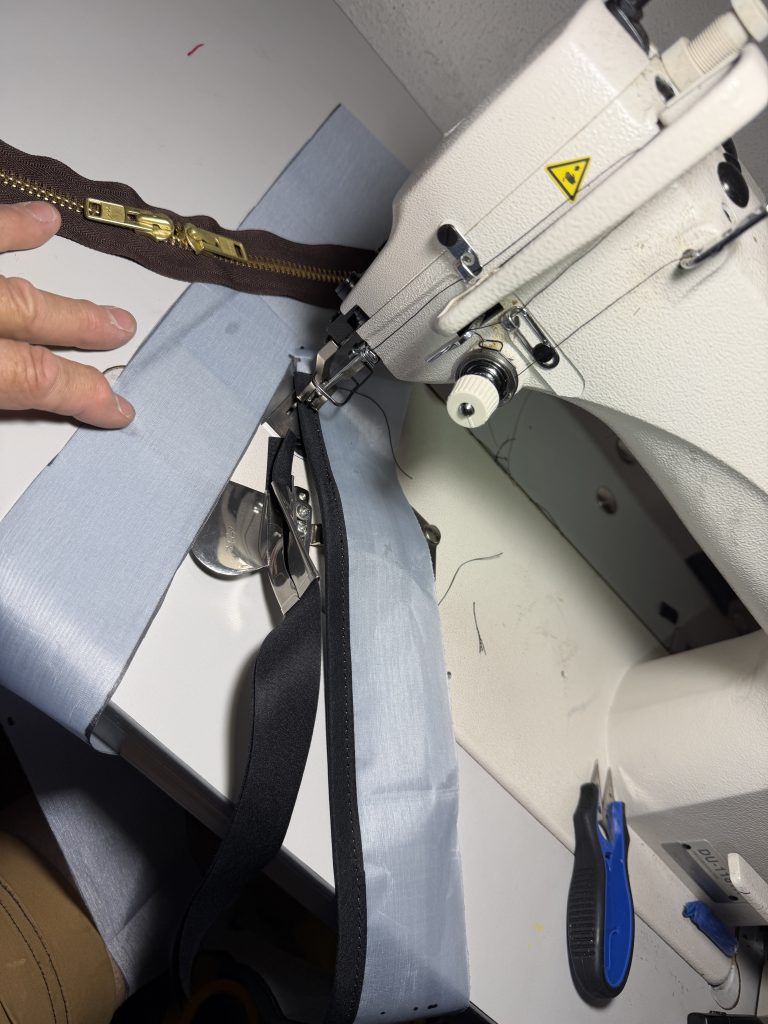
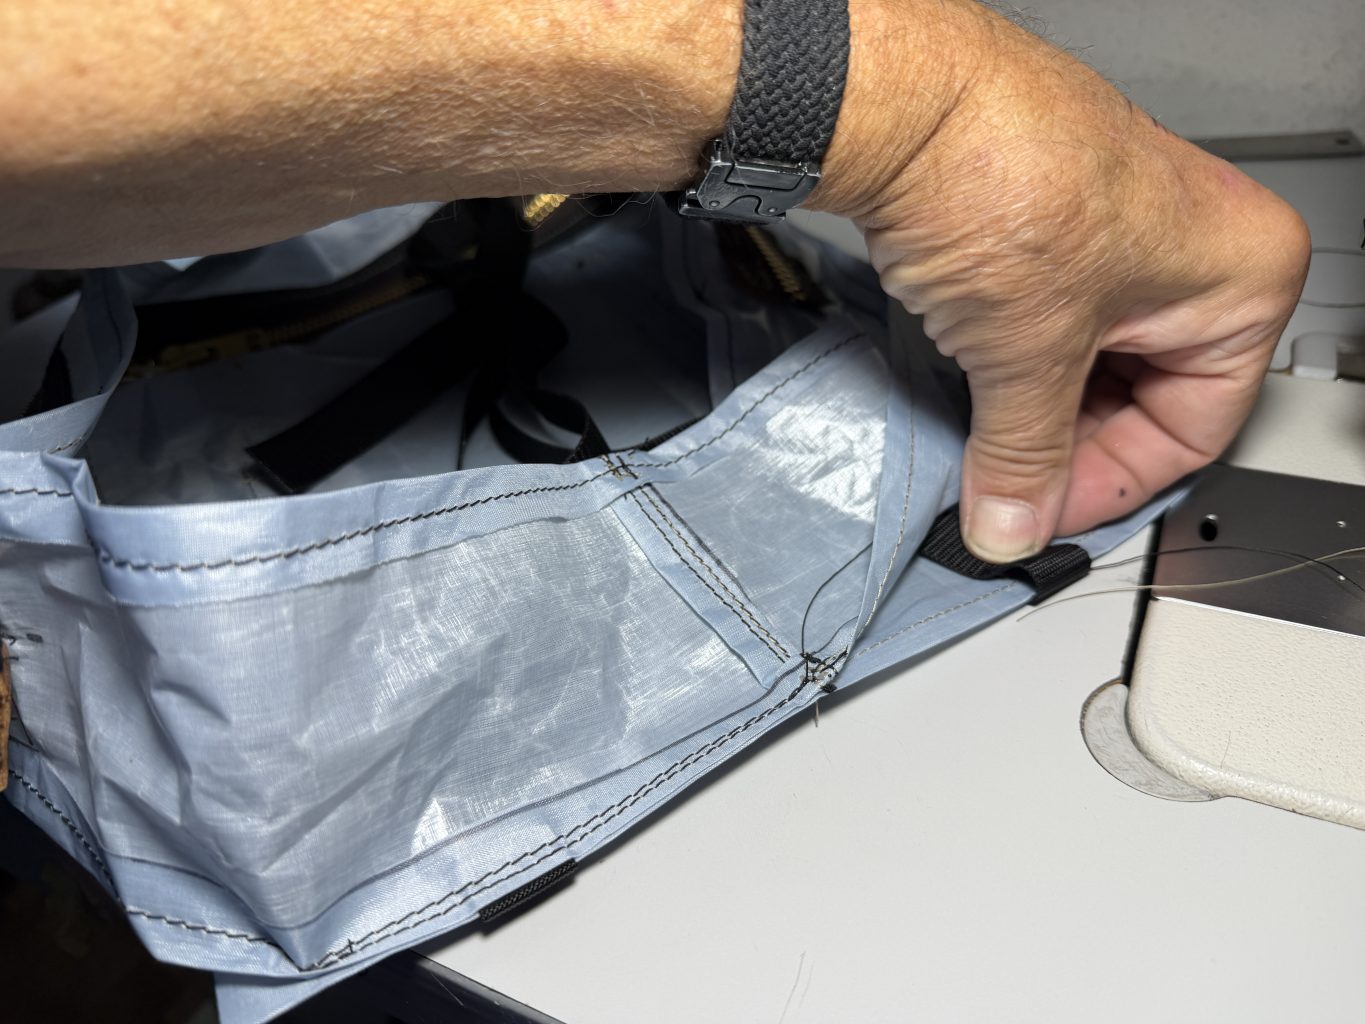
On the brain, because it is a closed circle, I sewed outward from middle marks on each edge. This minimizes bunching and improves final shape. I would have liked to use seam tape but used it up on the main pack body. Note the half inch folded over edge. If this ravels I’ll be making a new brain…or adding binder tape. I have yellow tape confining the outside straps from sewing accidents.
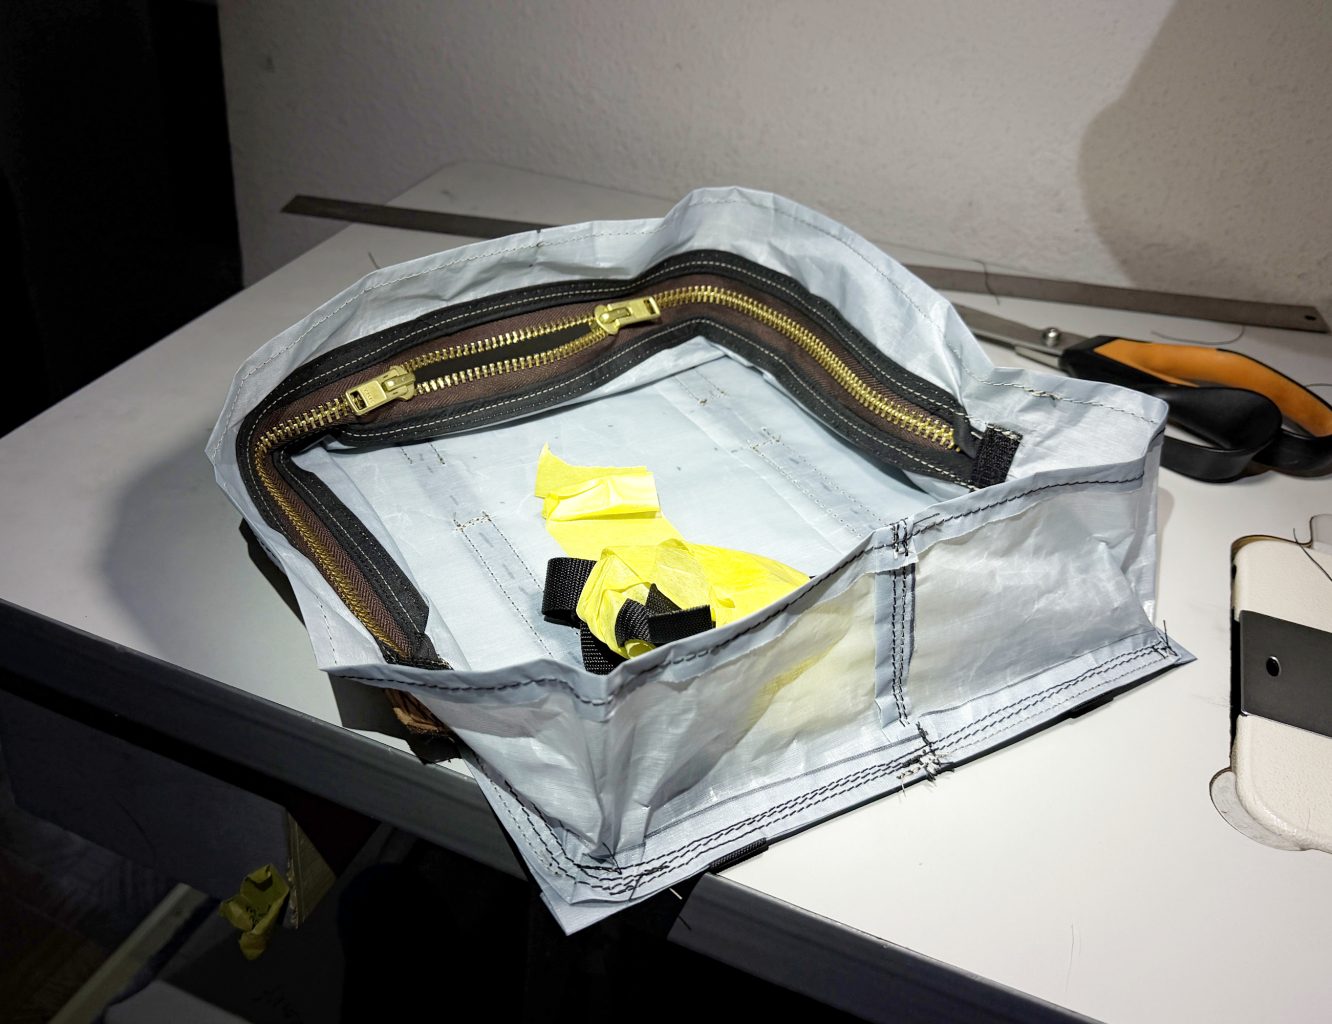
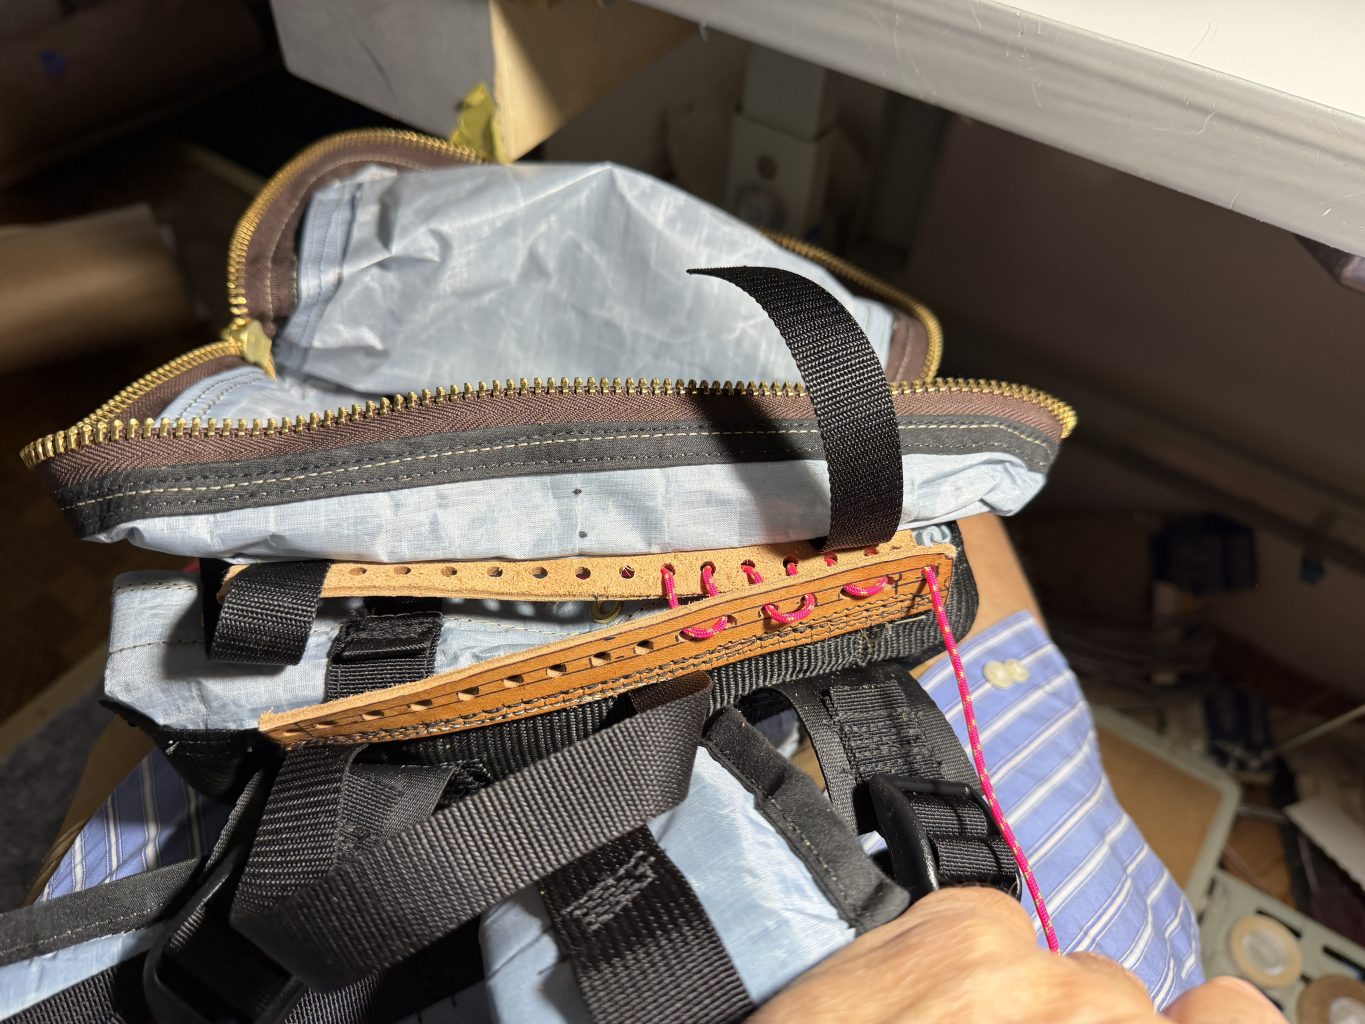
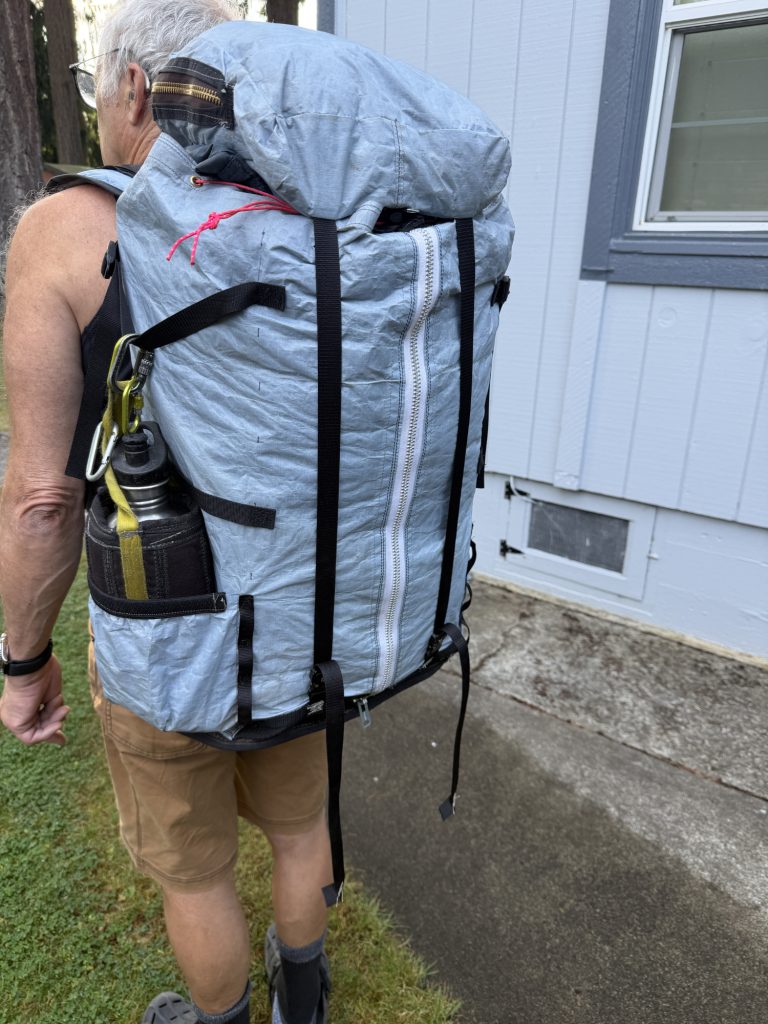
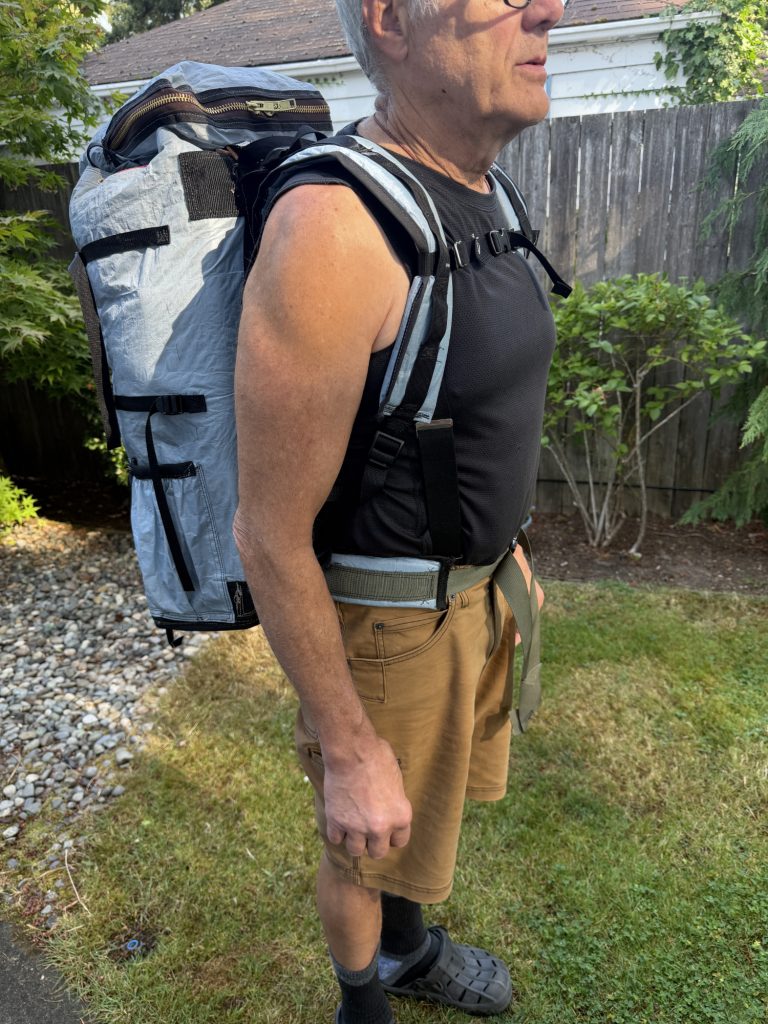
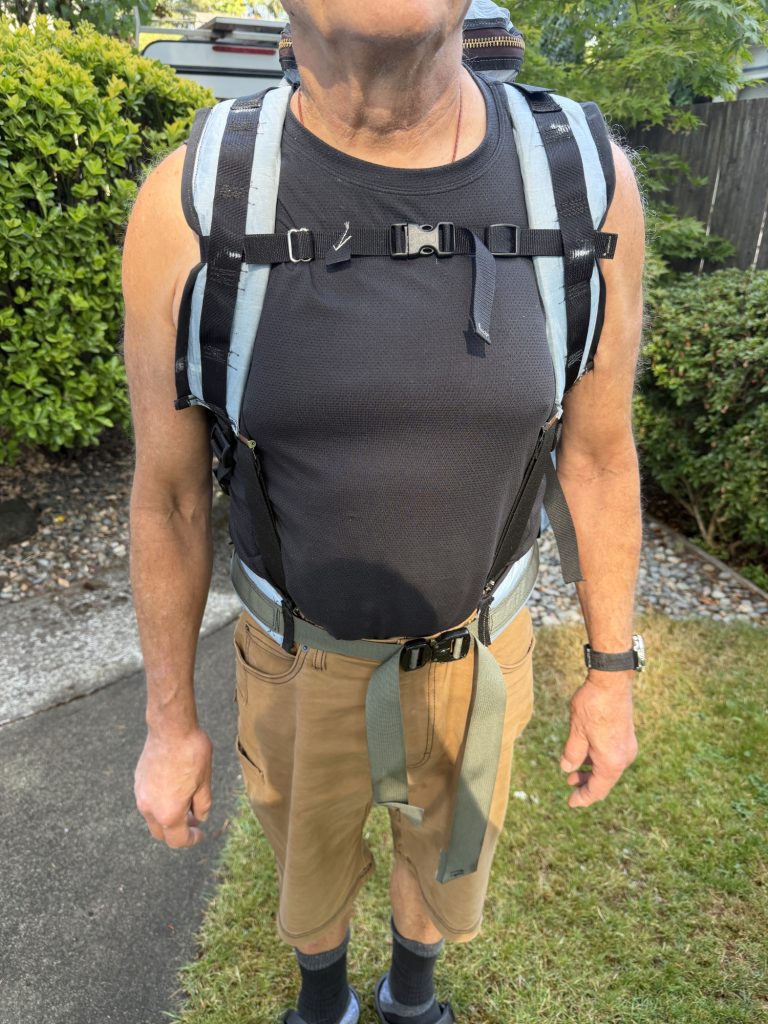
The design is a composite of my 1977 Lowe Expedition pack, but with the removable waist belt of a BD haul bag. It also takes some clues from my Hyperlight backpack, but with substantially improved durability. It’s been on a 3 day cragging trip to Squamish and a painting trip. When I sewed it I was low on black thread so all seams are black on one side and white on the other. I wanted the fabric in white, but Ripstop by the Roll only had blue or black in the 2.92 oz Dyneema Composite Fabric Hybrid CT5K.18/wov.32c × 6