I forgot to write up our Camp Muir trip 3-3-19. Sue and I used to ski up there a couple times a year. But since we had the kids (who are 31 and 34) we’ve been doing short little 4 mile loops around the area near Panorama Point.
The kids have been after us to ski to Muir. For them it’s no big deal. My son loped up there and down in two hours and 38 minutes on Sunday. That doesn’t include a half hour rest at the top.
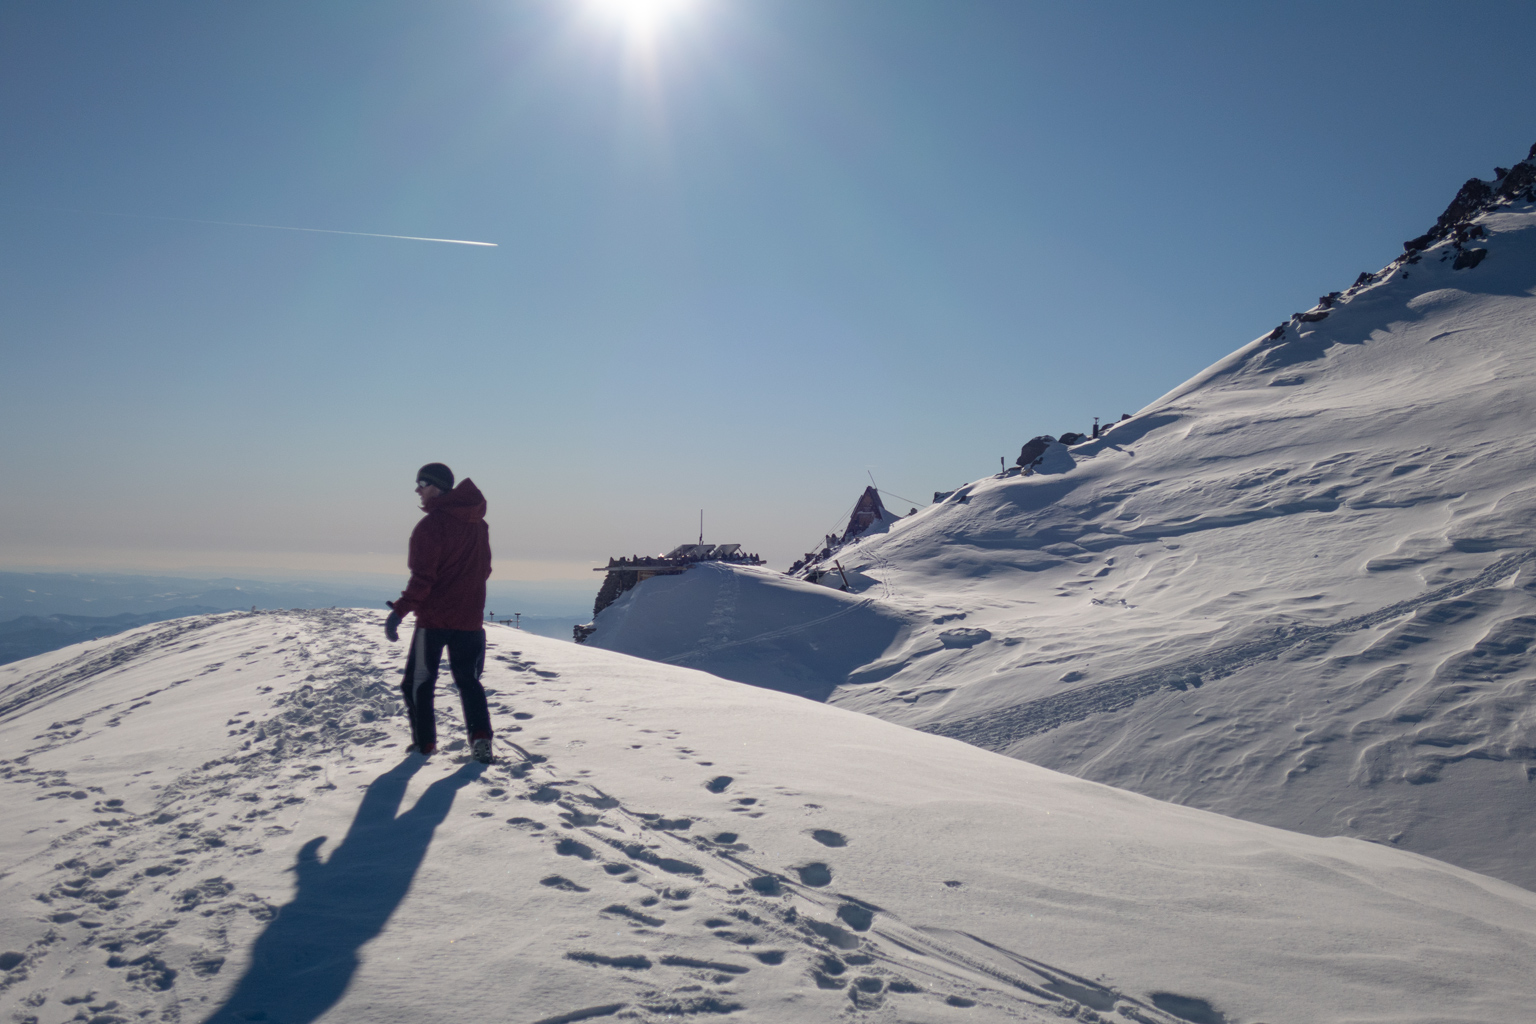
We made a number of false starts over the last two seasons, getting turned around by bad snow, white outs, wind or low energy. But on the third, Sue, Lisa, Clint, Jamie, Craig and I all headed up toward Muir on a perfect bluebird day. The gate didn’t open until 9 and we started skinning up at 9:45, arriving at Muir at 4PM. Along the way Jamie (Clint’s S.O.) and Sue turned around above Pan. Craig, Lisa and I continued on above Pan but we soon noticed Clint had vanished.
Lisa and I were climbing together when Craig caught up. He was surprised that Clint wasn’t with me. I told him that Clint was probably making sure that his mom and girlfriend were OK. These are generally not people you want to ignore, especially on a dangerous mountain. It turned out that Clint had given his mom his ice ax, and persuaded Jamie to take off her snowshoes and descend in boots, using her ax for self arrest. It’s easier going down steep snow in climbing boots.
Clint caught up with us in an hour and the 4 of us continued up under perfect sunny weather. In case you don’t know us, that means me, my two kids and Craig, Clint’s best friend.
As we approached 8500 feet I started to slow down. The last 500 feet of elevation was really hard. Muir is 5 miles one way, and gains 5000 feet of elevation. I’ve been working out on the stair master but it wasn’t enough. I got to where I had to stop every 100 feet of skinning and rest. And the higher I got, the more I had to rest, with the rests becoming longer.
I began to do the math and wondered if I’d ever make Muir. My heart was doing the pounding thing…but it was just like when we skied up St. Helens last year…so I figured I’d survive if I took enough rests. Time after time I’d be draped over my ski poles trying to catch my breath…waiting until I had the strength to climb up again. I’d look up the hill and there would be the 3 young people, staring down at me, patiently waiting and wondering.
When I finally made it there were broad grins and high fives all the way around. We hung out for a few photos but there was no time to spare. We were the last ones up and needed to get off the mountain. It was 5 miles back to the car and a lot could go wrong: broken bindings, sprained knees, white outs. There is no ski patrol or snowmobile rescue on the mountain.
On the plus side, we are all very experienced at back country skiing, with decades of time on Rainier. The ski down was fabulous. It was 3 inches of wonderful corn snow slash powder…for miles and miles.
Me and the kids at Camp Muir
Craig at Muir
Huts at Camp Muir
Me skiing down
A climbing acquaintance of mine was recently featured in a film. I’ve met her and her sister numerous times at Vantage. She really is that good.
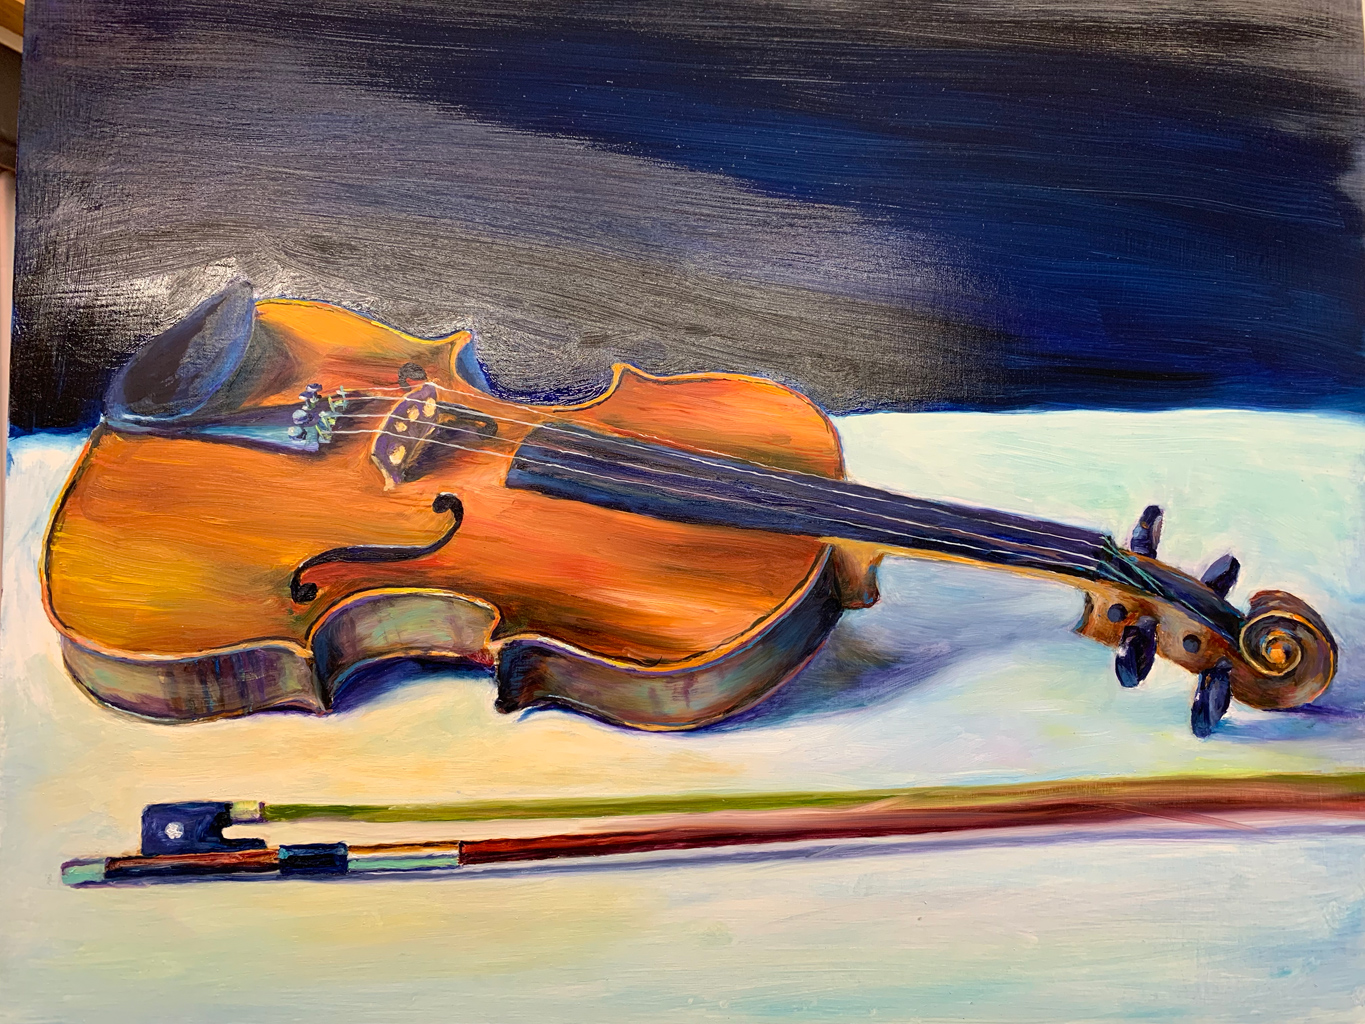
I’m not sure if this second violin painting is done. I wanted to do a free wheeling sloppy painting but it turned into my usual tight rendering. I’m really looking forward to warmer weather so I can get out to the mountains on the weekends where the movement of the sun forces me to work quickly.
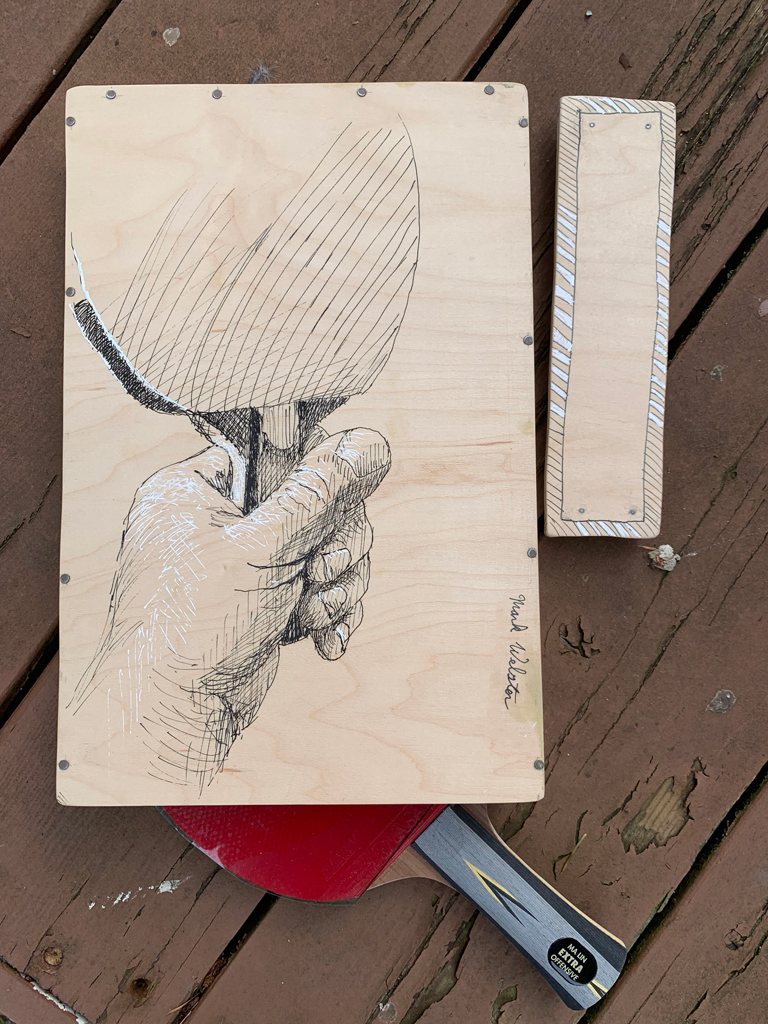
I’ve seen some great pen and ink art on wood but there is very little information out there on how to do it.
Here is what I discovered:
I use high end furniture grade one quarter inch 5 ply white maple plywood for my oil paintings. It’s $104 a sheet of 4′ x 8′. It has a flawless surface on both sides.
I decided to use some to make a small wood box, which I then decorated with pen and ink. My ink was rOtring black, Platinum Carbon black and Sakura Jelly Roll white.
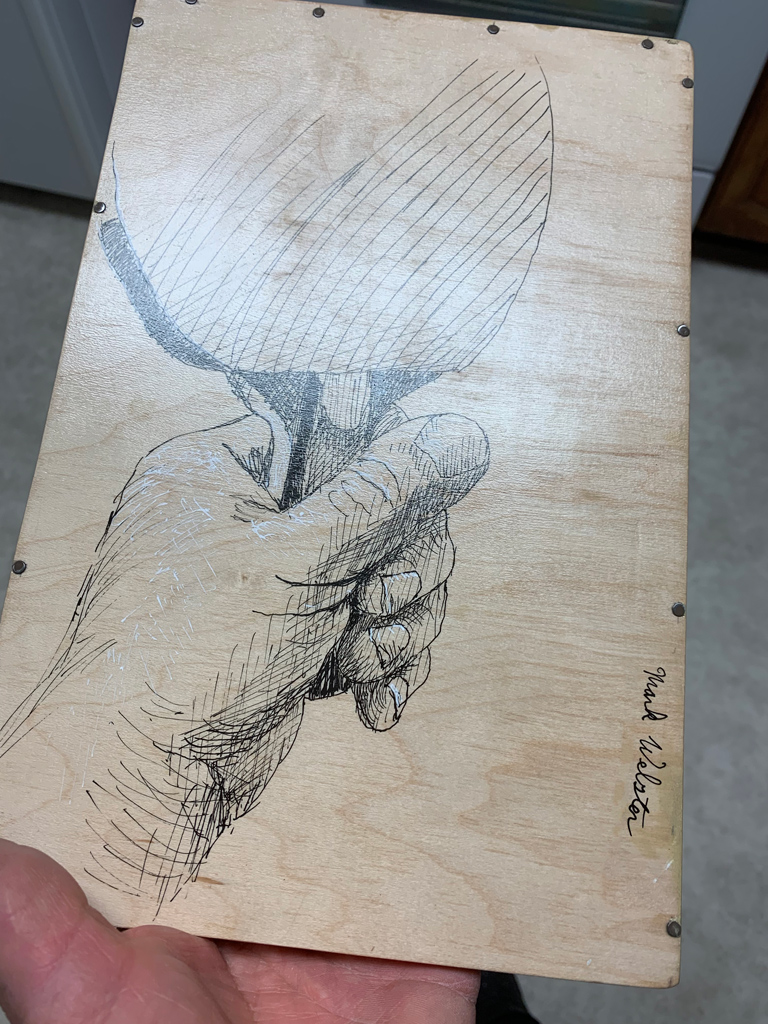
I sanded the wood with 300 grit paper then sealed with two coats of Gamblin PVA size, sanding before and after both size coats.
The drawing process felt normal, though the PVA size was slightly less absorbent than paper, so I was careful not to touch the lines if they looked wet. Really the ink only needed 10 seconds to dry, if that. I did a pure ink sketch, no pencil underneath.
After drawing, I waited a day then used Gamblin Gamvar oil painting varnish to seal the drawing and protect it from wear and tear. Both the black and white ink survived the varnishing perfectly. This looks like a great way do pen art because you don’t have to put it under glass or use matts. It’s just like an oil painting, no glass needed.
Oh, and the new paddle works well. It is heavier, so some of my shots were going off the table. I’m learning to hit the ball softer since the paddle has more inertia than my old one.
My elderly Aunt Virginia died recently. Her husband was a diesel mechanic. When I was 14 we visited them up in Seattle and I was surprised to find that none of my cousins were in the house. My Aunt sent me out to the garage and there they all were, helping their dad replace the pistons in an engine. I was so impressed at the amount of practical knowledge and skill in that family. They were heroes to my young eyes.
Working on cars seems to have become less popular among the younger generation. Neither of my kids does it. Well, that’s not quite true…my son does his oil, and has replaced an alternator. It’s weird because they grew up watching me do brakes, starters, alternators, radiators, spark plugs, shocks and carburetors. I could frequently be found laboring in the driveway in the rain, keeping an old car running. It’s oddly satisfying and can save a ton of money. Though there is nothing wrong with paying other people to do the work…you just need to have a good job, which they both have.
Car number one
During the recent snow, Sue parked our newest car a little too close to a snow bank in town. When she drove away, the snow pulled on the plastic bumper and broke two plastic connector tabs that held the bumper shield to the splash guard inside the fender. Cosmetically the damage was a one eighth inch misalignment of the bumper to the steel body panel above it.
She took it to a body shop and they quoted her $1000 because they’d have to replace the entire front bumper. He told her to ignore it, that it wasn’t worth the trouble and wouldn’t cause any problems. That didn’t go over well with me. It looked like the bumper could flap in the wind, and possibly cause more tabs to break. At 70 miles an hour there is a lot of pressure down there. I never want to be the guy on the side of the road with a broken down car.
Yesterday I pulled 7 screws out of that area to open it up. I could see the windshield washer reservoir, and the true steel bumper but it looked like there was room to get a drill. The tabs that held the two body parts together were broken so I cut some right angle replacement pieces from aluminum and steel. I custom bent them to fit the curving angles of the body parts, then carefully drilled holes to match existing plastic connectors, and drilled two small holes in the fender.
I was working out on the street in my driveway with the car jacked up in the air and I’d pulled the front wheel for better access. Probably my tools were safe as I went back and forth to my out building where I had a vice, but I wasn’t sure. I still don’t know this neighborhood that well. I’ve had friends get stuff stolen from right in front of their house in this town. My solution was to keep my tools in the car, and lock the doors. Only problem was that I’d had to disconnect the battery to avoid triggering the air bag as I drilled the bumper.
I had a confusing moment where I was pressing the door lock button in the car and all I heard was silence. It was kind of a “duh” moment. Our other cars are all manual door locks and roll up windows. Chalk it up to the joys of being a backyard mechanic. Our old house was safely concealed down a long driveway surrounded by trees, way out in the country. We like living in the city, and this is an awesome neighborhood…but I do miss the country sometimes.
Anyway, the end result is the car is as good as new. No dents anywhere, and the bumper is tight. The only evidence is two small stainless steel screws on the otherwise flawless white bumper. My friends tease me about how I’m always MacGyvering everything. They’ve even invented a term for it: “You Uncle Marked that thing!”
Car number two
As soon as my 1991 Corolla got back from the mechanic (oil leak repairs) I drove it for a few days and it died. Sue helped me compression start it (we towed it 100 feet) and then I drove back to my mechanic where he said the battery was on the edge but it might also be the starter. I replaced the battery and drove it for a couple more days and then it died, again.
My son came over and we push started it. It’s a light car and we only had to push it 50 feet. You gotta’ love a manual transmission because it fired right up when I popped it into second. Then I drove it into the driveway, jacked it up with my 3 ton jack, braced it on jack stands and began looking for the starter. For an early nineties car it has a lot of clutter under the hood. Finally I found the starter buried under the fresh air manifold. It looked impossible to pull. Thank goodness for the community of amateur mechanics who put videos on youtube. They explicitly explain where the bolts are located and I had it out in a couple hours.
Buying the correct starter
If you are new to replacing starters, never trust an auto parts store when they say they have the correct starter in stock! Always pull the starter and take it to the auto parts store. Open the box and compare the new starter with the old one, on all sides. As starters go it wasn’t the hardest I’ve done. My truck was significantly harder. The trick on this one was for me to hold the new starter from the top. Sue pointed out that she could see it wasn’t aligned when I tried to do it from the bottom. Yupp, I was lying in the mud, under the jacked up car…again. It was easy when I held the starter from the top while she inserted the first bolt. You can see just enough of the important bits by looking through the intake manifold pipes.
As I was reassembling the air cleaner I noticed the air intake hose had busted open. Darn thing only lasted 30 years. I called around to some pick and pull junk yards but they either didn’t have it, charged too much, or never answered the phone. My mechanic ordered one for me using the VIN number. Bottom line, having a mechanic do this would have been over $500. It cost me $82 for the starter and $100 for the hose.
In other news I tried to replace the rubber on my ping pong paddle. I used permanent contact cement and got a un-fixable bubble. I could have sanded the rubber off…but rubbers are $45 so I decided to buy a new paddle. Big 5 carries junk and there are no table tennis stores in Seattle. Closest store is 2 hours away in Portland but a phone call had a new paddle winging it’s way to me in a couple days. Sue and I played last night and it works awesome. It’s slightly heavier than my old one, but far stickier and seems to have a short learning curve.
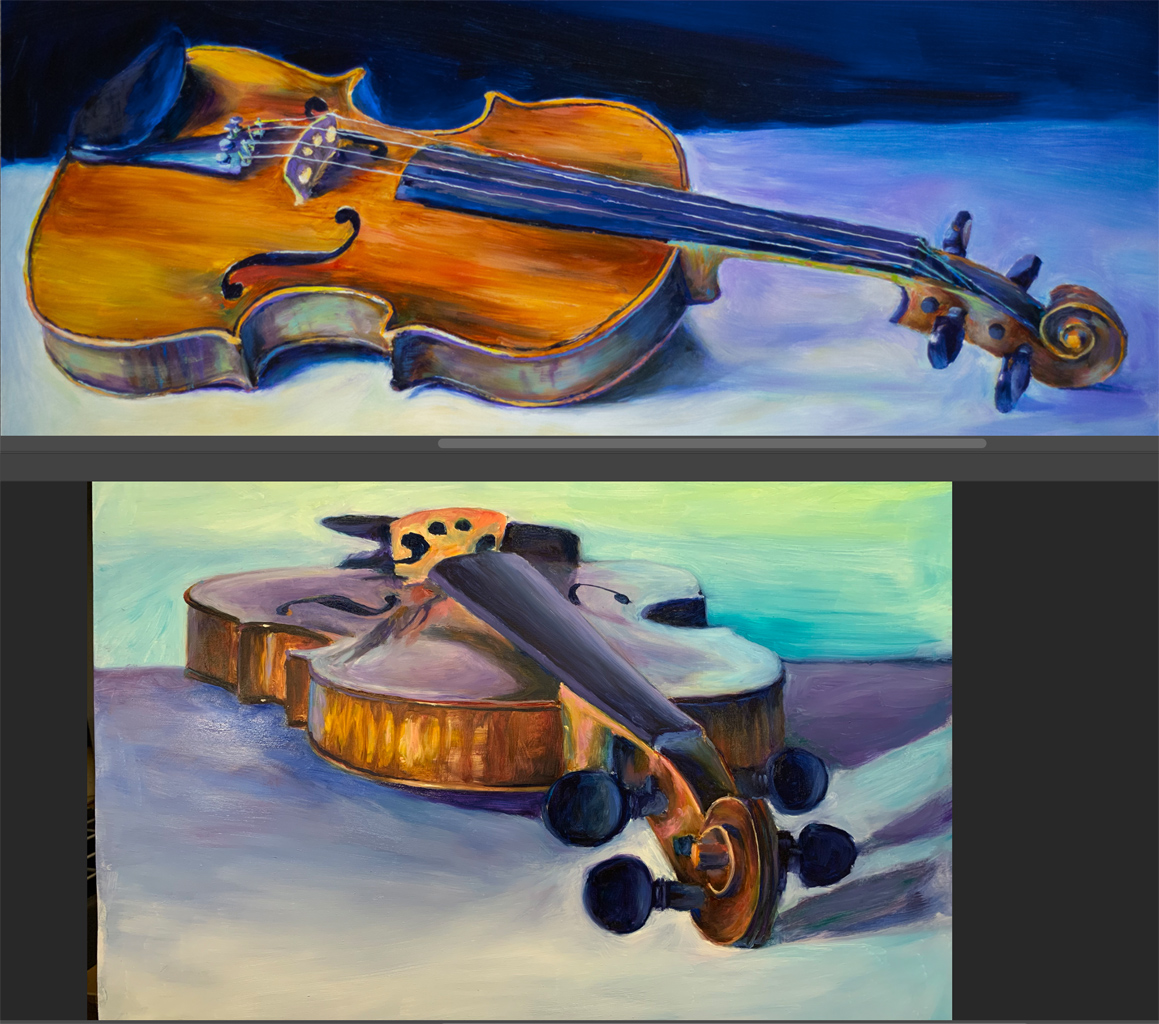
And I’m painting the violin again. I’m doing a foreshortened version this time around, bigger than life size. It’s very frustrating. I’m going to do something more forgiving for my next painting. Violins are as hard to paint as the human figure.
Kristi loaned me her violin after our last jam session. When she plays that violin it brings magic into the room. Don’t know how such a small instrument can add so much beauty.
On the painting side, it’s a nightmare to draw. There are countless complex curves that have to be rendered perfectly. And the wood…did I ever mention how hard it is to paint wood? Not to mention the strings, this was the first time I’ve tried to paint ultra thin lines.
I also neglected to think about composition and started with the violin floating on white. All of my stumbling trial and error approach to painting is shown in these photos.
I’m 4 hours into another angle. This time I’m drawing it bigger than life size. And I’m looking down the length of it. The tuning knobs are bigger and the neck is foreshortened. This makes it really, really hard…so hard I had to grid out the canvas, and look at the violin thru my little dental floss grid viewer….pictures to follow.
For hour after hour I stood there trying, and failing, to draw it accurately. If something is life size, I can measure much more easily. I look, measure and draw it to size. But when it’s bigger, there is some mental transposing that goes on after I look. I can’t just draw what I see. I have to draw it larger.
I know this doesn’t make sense. I draw stuff smaller than life all the time. That seems to be easier. Perhaps it’s that when you are drawing something so close you can touch it, it’s natural to want to make it life size?
Alex and his son dropped by for a little ping pong today and I showed them the painting of the family violin. They were impressed.