Early season Muir attempt

Posted by on November 26th, 2018  •  0 Comments  •  Full Article

paradise-inn

Both of my kids skied to Muir a week ago. Today Lisa and I got up to 8000 feet before my old bones told me they’d had enough for the day. The snow on the Muir snowfield was getting better the higher we climbed but I needed to save some energy for the ski down.  There was barely enough snow in many places. Panorama Face is notoriously narrow for turning and it was even worse today with rocks and grass showing in places.e

The kids have spent the last decade polishing their skills riding the lifts. Meanwhile Sue and I have almost exclusively skied the backcountry, which is free. But the resulting skill differential is huge. Still, I was able to go into survival mode and get down the hill. Once we got off Pan it was much more mellow.

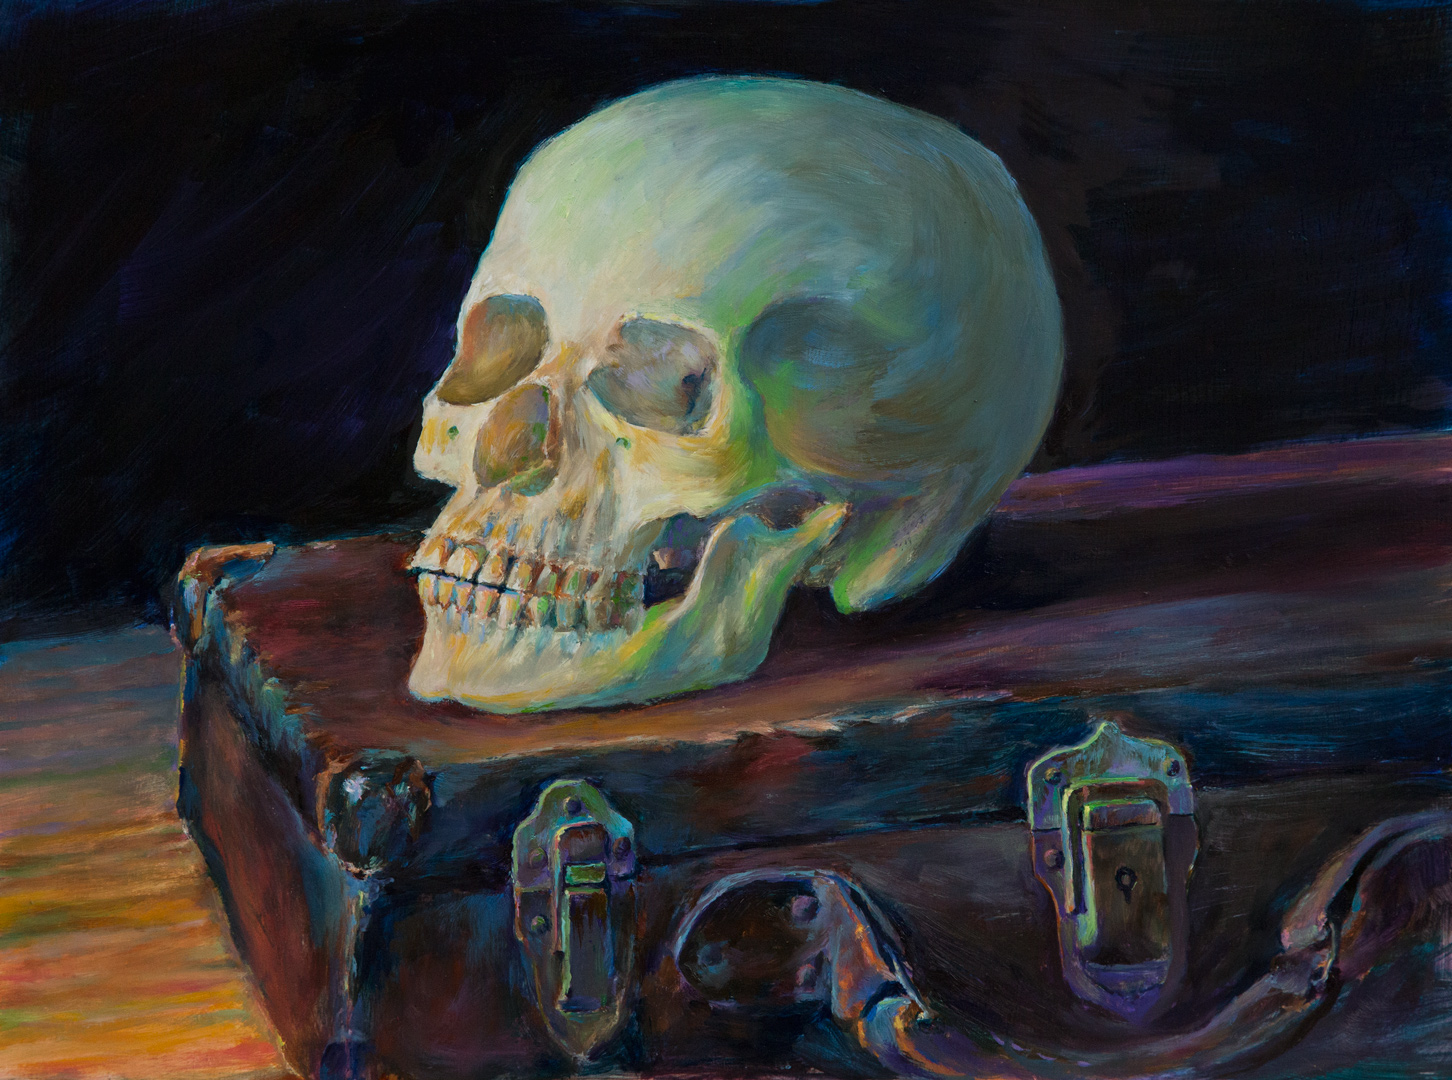
On the way through Ashford I stopped at the https://www.ashfordcreekgallery.com to show Rick a painting I did recently of the old inn. I’d planned on painting the mountain that day but it was fogged in. I’ve always thought the old inn would make a painting and that day it did. Rick hadn’t seen it yet and as soon as I walked in he asked if he could hang it.

I hope that painting makes someone happy. While I was painting it, dozens of people walked by and admired it. I can imagine someone coming down the mountain from a romantic weekend staying in the 100 year old inn and seeing that painting in the gallery.

I had it framed in one of my custom frames that I build from raw unpainted moulding I buy from homedepot. I’ve learned to paint the wood to look very nice, with an accent of gold leaf. And my miter corners are absolutely perfect now. I’m filming a tutorial to be published later on how that all works.

Painting a skull and frame making

Posted by on November 16th, 2018  •  0 Comments  •  Full Article

Artist have been studying anatomy and bones for thousands of years. Leonardo Da Vinci did some amazing drawings of anatomy in 1500. The theory is that if you can understand the bones and muscles under the skin, you can more accurately draw from life.

I recently finished my turban squash on a leather box. I wanted to paint the box again and tried a couple things on the box (cams, and hexes) but they didn’t look good. I tried out a skull I’ve had since the eighties and it looked just right. Two old things, both powerful in their own right for different reasons. I spent about a week tinkering with it. I love having a still life set up to come home to after work. On the weekend, if I don’t have a climbing partner, or it’s raining, I can have almost as much fun painting as I have climbing…no partner required.

Cutting and staining  picture frame molding

I discovered that Home Depot stocks unfinished picture frame stock by the yard. It already has the rabbet and a nice profile. And it’s only about $13 for 8 feet. I’ve found and worked a tutorial that explains how to finish the wood with acrylic paint and gold leaf.

handmade frame

handmade picture frame

And I’ve worked out most of the bugs in my frame making procedure. They mostly had to do with finding an easier way to measure my 45 degree miter cuts. The two sides of the frame, long way and short way, have to be exactly the same length. So you measure one, set up a stop on the saw. Bump the first piece to the stop, cut. And then use the stop to cut the next side. That gives you to sides that are exactly the same length. They might be the wrong length if you didn’t measure correctly, but they will at least make a frame with tight corners.

Also, make sure the faces of the cuts are exactly 90 degree perpendicular to the table, or ground. I bought two different angle measures which I use both before and after cutting. I was initially using some fancy math to get the length of the frame sides, based on the width of the frame stock, minus the rabbet, plus the ‘slop’. But it was touchy math, because some of the stock had a deeper rabbet, or wider sides, and it was just too much thinking. I’d get the frame put together and the painting wouldn’t fit in. I’d have to cut the painting down.

Finally I realized that I need to measure in the rabbet. If painting is 12 x 16, the rabbet hole needs to measure 12.125″ x 16.125″, plus a little. So I make my marks on the rabbet edge. Then I use an angle to move those marks out to the outside top of the frame. I lower the miter saw blade down (power off) and eyeball the blade edge so it just grazes the pencil mark. I make the cut, then examine inside the rabbet to see if the cut matches the rabbet mark…which is an extension of the mark on the top of the frame.

measure in rabbet

measure in rabbet

I do all this measuring and cutting on the other end of the frame side. Then I double check  the measurement of the  rabbet length. After cutting both ends of the frame side, it should be 0.125″ longer than that side of the painting. After all this work, it’s ready for clamping, glue and nails.

Then I start in on the finishing, which includes gesso, sanding, burnt sienna acrylic, (or transparent oxide red) and gold leaf.

I let that dry. Over that I brush on a mixture of mostly black with a little burnt sienna or Alizarin Red. I wipe that off the gold leaf and selected areas of the frame. These are all artists paints. I discovered that Golden Open paints don’t work, because they ‘open’ lower layers of paint. I have to use traditional Acrylics.

More pictures to follow.


Pastel drawings and fixative

Posted by on November 2nd, 2018  •  0 Comments  •  Full Article

I like to think that the internet has a positive side. I ask my new students each quarter to define the internet. What is it? The best answer I ever got was this:

“It’s the consciousness of the modern world”

I like that explanation. When we google stuff we are basically asking the world, via the internet. I sometimes frequent websites devoted to art. On one of those today someone asked  if they should spray fixative on a pastel drawing. This is a common concern, especially in the frame making community.

No one wants to frame a pastel and then have  it returned to the shop because the pastel dust slid down and got trapped between the matts and the glass. It makes an unsightly mess. It’s easily fixed, but takes about an hour each painting. It involves opening up the frame and carefully vacuuming and or erasing with a sticky gum eraser until the matt and glass is clean. An easy fix is to use matts that have some speckle in them. And to build in a ‘dust catcher slot’ in the frame. This is basically a 1/8″ slot of air between the pastel and the first matt. So if pastel dust falls, it drops into the slot and doesn’t make  a mess.

Here is the message I wrote on the art website explaining all this:

Spray fix is important for a pencil drawing. However, if you care about your pastel drawings, never, ever spray them. The fixative turns a bright white pastel mark to dull gray. Something about the fix kills the highlights.

To store a pastel, get some shiny paper, such as the kind that glossy magazines are printed on. You can get this from large print shops, probably for free. They use it to get their printing presses ready for a production run. It’s called ‘make-ready’ stock, 80# enamel gloss. Use removable tape and tape the shiny paper to the top edge of the pastel drawing. The pastel won’t stick to the shiny paper…or, at least, not enough of it to matter.

This allows you to view the pastel by lifting – hinging up the protective shiny paper, and then flop it back down when you want to store the pastel. I typically tape two sheets of cardboard together and carry a dozen pastel paintings in my plein air backpacking kit. When I want to frame a pastel, I pull the shiny paper off, wipe it down and use it for another pastel.

Also, when you do go to frame them behind glass, hold the pastel up and smack it sharply on the back numerous times with your thumb. This knocks off all the loose pastel dust. Examine the pastel, make sure it doesn’t need touch up, and then smack it again. Once it’s framed under glass, it’s good for hundreds of years.

If a few pastel specks float down off the painting after framing, they will drop down into the ‘dust catcher slot’ between the pastel and the first matt, which should be about 1/8″.

Appropriate uses for fix on a pastel drawing might be where you have overpainted a section and the paper won’t accept anymore pastel because you’ve covered up the ‘tooth’ of the surface. Your options are:
(1.) to brush the pastel off with a stiff brush like a toothbrush, which gives your paper back it’s tooth, or
(2.) to spray fix on that area, which glues the pastel down and creates tooth from the glued down pigment.

But fix is smelly, and it’s better to use a paper with high tooth (Rives BFK) or one of the sanded papers, and be careful not to overwork the tooth.