I’ve not written in two weeks and it’s getting hard to remember what I’ve been up to. L. and D. were vacationing Alaska and shared some exciting news, but I won’t write about it here, as it’s not my story to tell.
Sue has gotten into making the yard pretty. She’s been digging up dandelions and replanting grass seeds in the holes. I’m glad she likes doing that because yard work is just not my thing.
My niece and nephew met me at my uncles house in Leavenworth for a few days of climbing. John led a hard offwidth on the left side of Jello Tower and got my number 5 stuck. Normally a big cam like that comes out easily because you can get your hands on it. But this one got fixed. Both he and I worked on it and it was not coming out. By the next weekend it was gone. I haven’t stuck a cam in a decade, so I guess I was overdue. Still, I’d rather lose a cam than a nephew. He was in dangerous territory when he slammed that cam into the 4 inch crack, but as soon as he clipped it he was safe.
V. and I went to Private Idaho at Index the weekend before and I got on Istanbul and Battered Sandwich, both 5.9’s. That was a lot of fun.
My uncle had a cold, and now I’ve got it. Since I was resting over this last weekend, I decided to brush up on Adobe Premiere by posting some DIY tutorials on framemaking. I’d filmed the footage back in November, planning to eventually make some videos on the process.
DIY picture framing
There weren’t many good tutorials online about making pictures frames. It seems the good artists and frame makers aren’t into film making. There are some woodworkers posting picture framing videos…but they weren’t using the simple tools I’m using. Most of those guys have $20,000 woodworking shops. I’ve just got a borrowed miter saw and a couple of $80 picture frame clamps. I also cover the measuring, gluing, nailing painting and gold leafing processes.
What I do have is artistic knowledge and creative troubleshooting skills…plus some low level filmmaking skills. I filmed most of the footage with my iphone and or my little point and shoot camera, mostly because they have autofocus and built in mic’s. I hand held some of the footage…so that should really be reshot…but most of it was done on tripods and is fine.
I put them up as 1080p, so the quality seems quite adequate. I’ve gotten a lot of help from youtube fixing things such as cars and appliances, so it’s nice to be able to give back to the community by posting some of my own tutorials.
How to measure and cut perfect miter corners to the right length:
Clamping, glueing and nailing with Rockler picture frame clamps:
Assembling the final frame pieces into the finished frame.
Applying gesso, handpainting with acrylic paint and adding gold leaf. It’s kind of like making a miniature painting, a painting of a frame, on wood:
Artist have been studying anatomy and bones for thousands of years. Leonardo Da Vinci did some amazing drawings of anatomy in 1500. The theory is that if you can understand the bones and muscles under the skin, you can more accurately draw from life.
I recently finished my turban squash on a leather box. I wanted to paint the box again and tried a couple things on the box (cams, and hexes) but they didn’t look good. I tried out a skull I’ve had since the eighties and it looked just right. Two old things, both powerful in their own right for different reasons. I spent about a week tinkering with it. I love having a still life set up to come home to after work. On the weekend, if I don’t have a climbing partner, or it’s raining, I can have almost as much fun painting as I have climbing…no partner required.
Cutting and staining picture frame molding
I discovered that Home Depot stocks unfinished picture frame stock by the yard. It already has the rabbet and a nice profile. And it’s only about $13 for 8 feet. I’ve found and worked a tutorial that explains how to finish the wood with acrylic paint and gold leaf.
handmade picture frame
And I’ve worked out most of the bugs in my frame making procedure. They mostly had to do with finding an easier way to measure my 45 degree miter cuts. The two sides of the frame, long way and short way, have to be exactly the same length. So you measure one, set up a stop on the saw. Bump the first piece to the stop, cut. And then use the stop to cut the next side. That gives you to sides that are exactly the same length. They might be the wrong length if you didn’t measure correctly, but they will at least make a frame with tight corners.
Also, make sure the faces of the cuts are exactly 90 degree perpendicular to the table, or ground. I bought two different angle measures which I use both before and after cutting. I was initially using some fancy math to get the length of the frame sides, based on the width of the frame stock, minus the rabbet, plus the ‘slop’. But it was touchy math, because some of the stock had a deeper rabbet, or wider sides, and it was just too much thinking. I’d get the frame put together and the painting wouldn’t fit in. I’d have to cut the painting down.
Finally I realized that I need to measure in the rabbet. If painting is 12 x 16, the rabbet hole needs to measure 12.125″ x 16.125″, plus a little. So I make my marks on the rabbet edge. Then I use an angle to move those marks out to the outside top of the frame. I lower the miter saw blade down (power off) and eyeball the blade edge so it just grazes the pencil mark. I make the cut, then examine inside the rabbet to see if the cut matches the rabbet mark…which is an extension of the mark on the top of the frame.
measure in rabbet
I do all this measuring and cutting on the other end of the frame side. Then I double check the measurement of the rabbet length. After cutting both ends of the frame side, it should be 0.125″ longer than that side of the painting. After all this work, it’s ready for clamping, glue and nails.
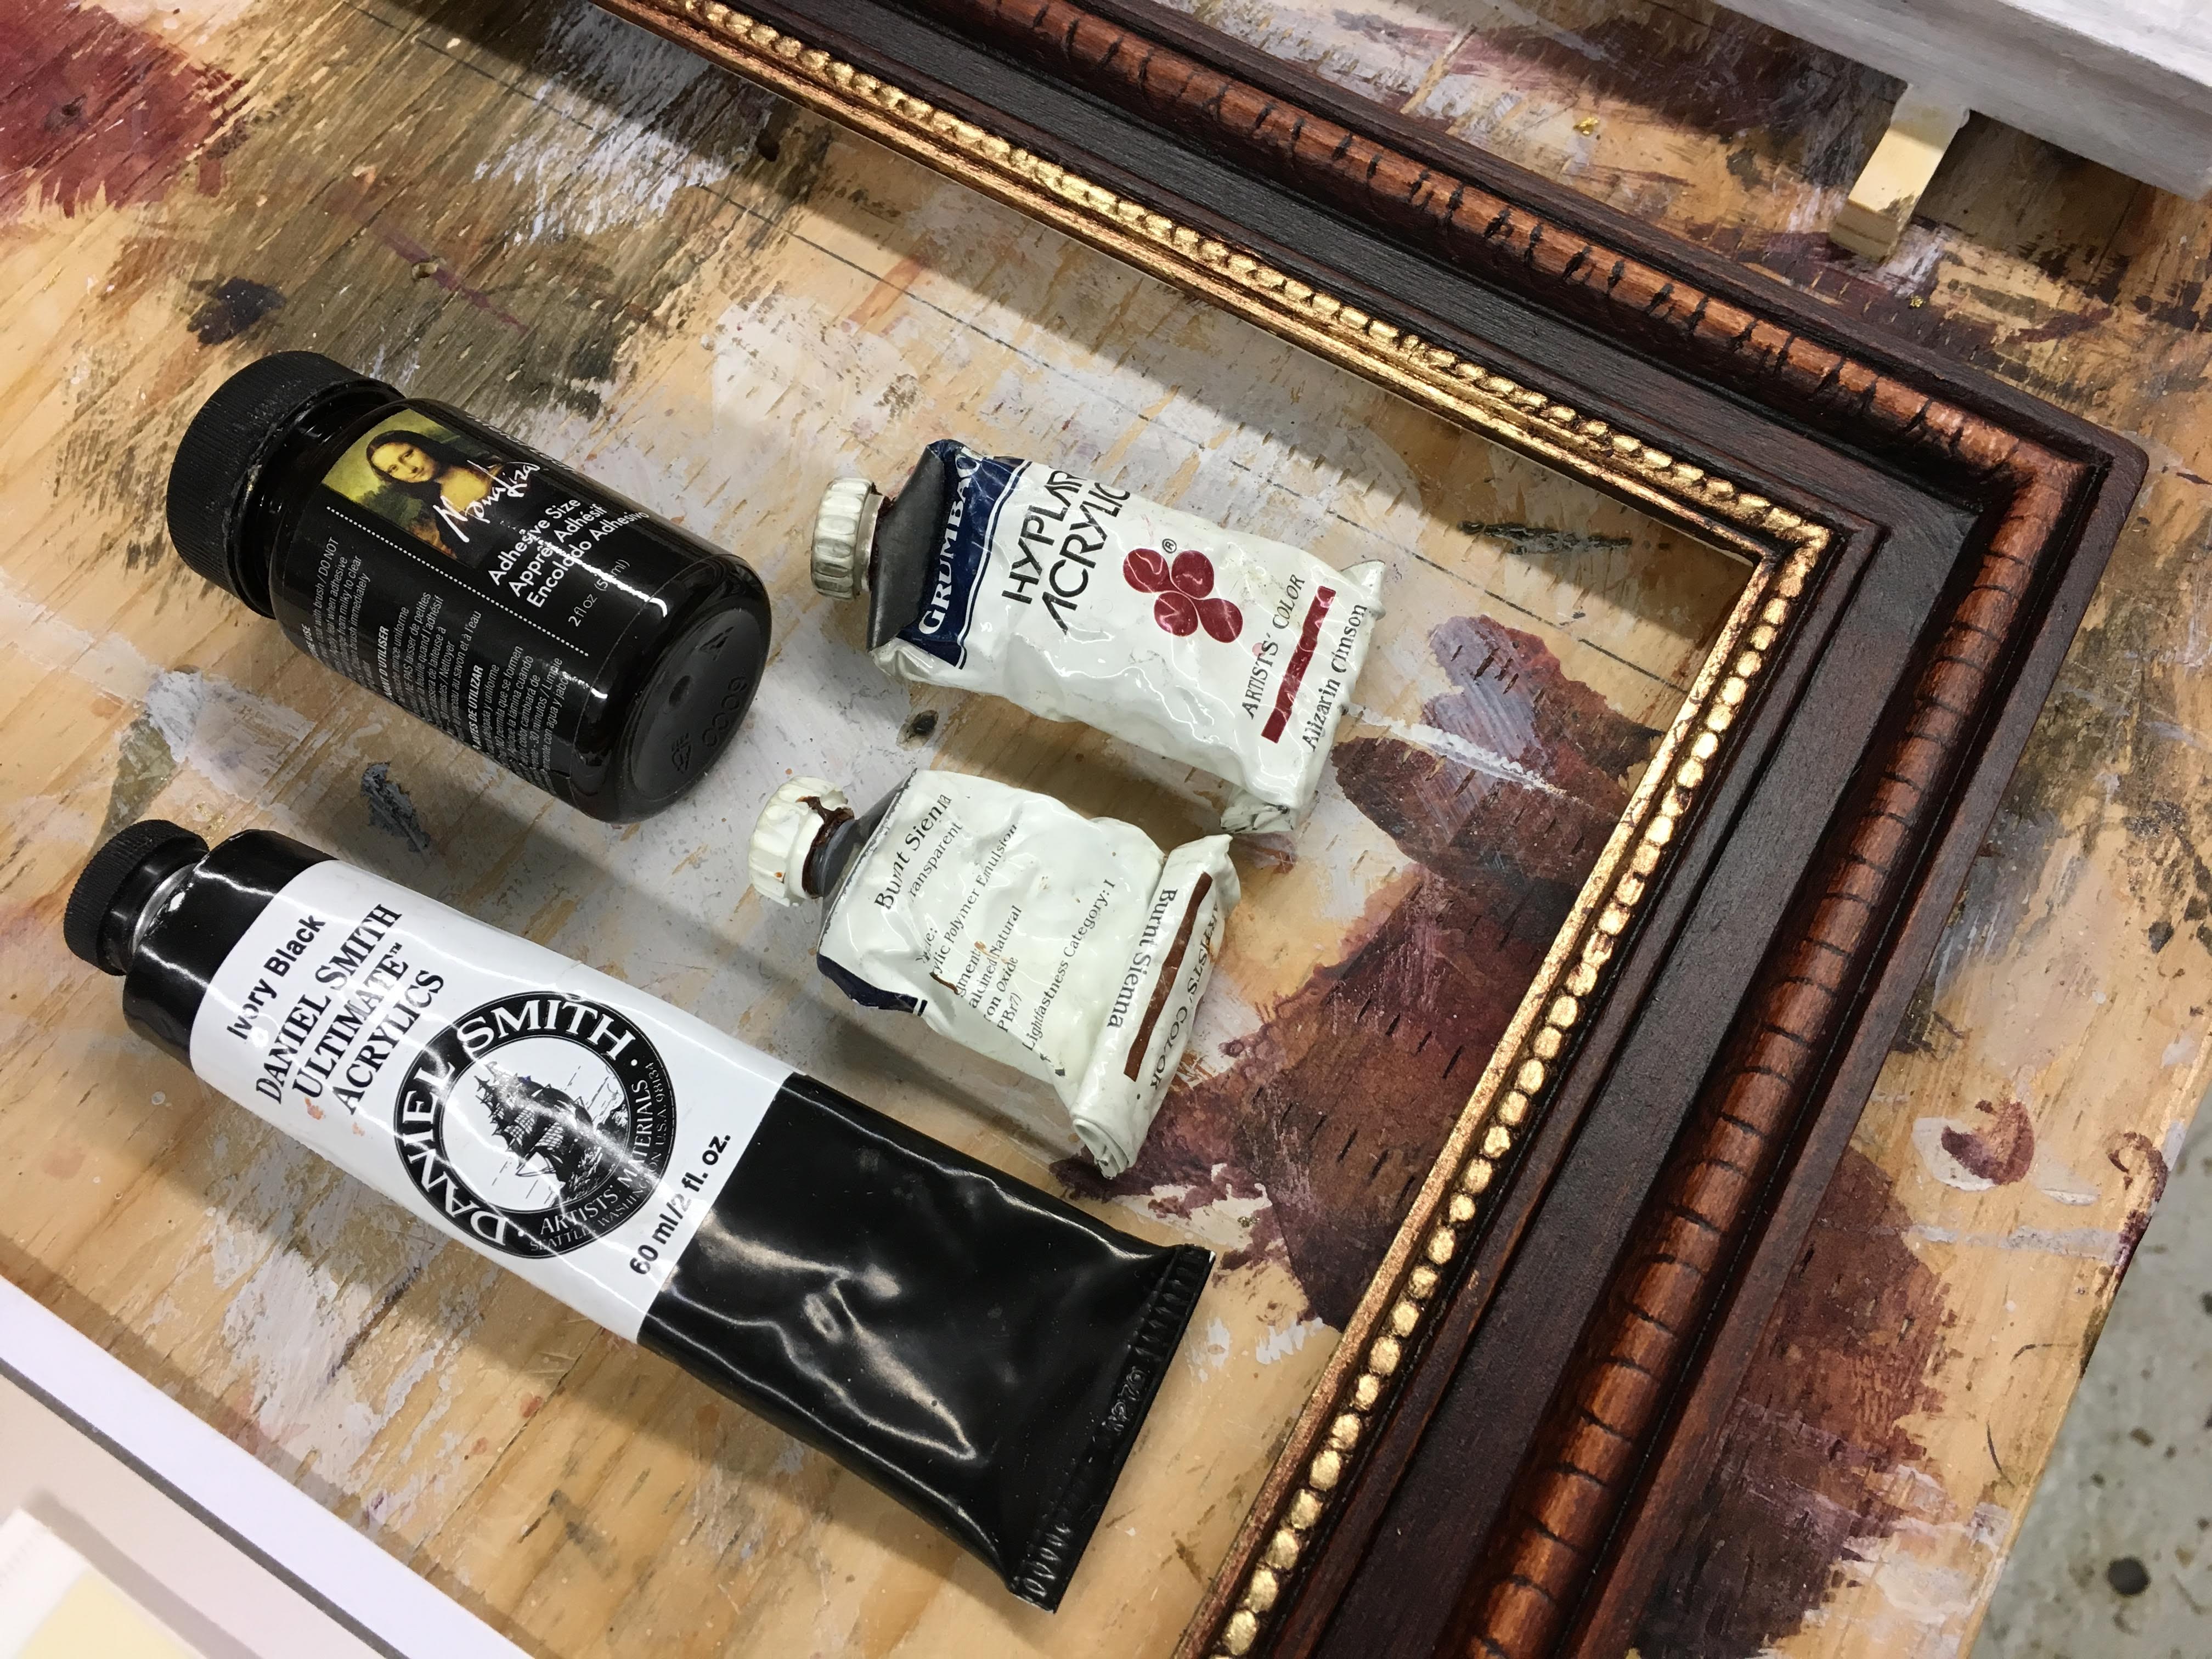
Then I start in on the finishing, which includes gesso, sanding, burnt sienna acrylic, (or transparent oxide red) and gold leaf.
I let that dry. Over that I brush on a mixture of mostly black with a little burnt sienna or Alizarin Red. I wipe that off the gold leaf and selected areas of the frame. These are all artists paints. I discovered that Golden Open paints don’t work, because they ‘open’ lower layers of paint. I have to use traditional Acrylics.